How to Install StepUp® Tread & Riser Kits
Learn how to install StepUp® tread and riser kits.
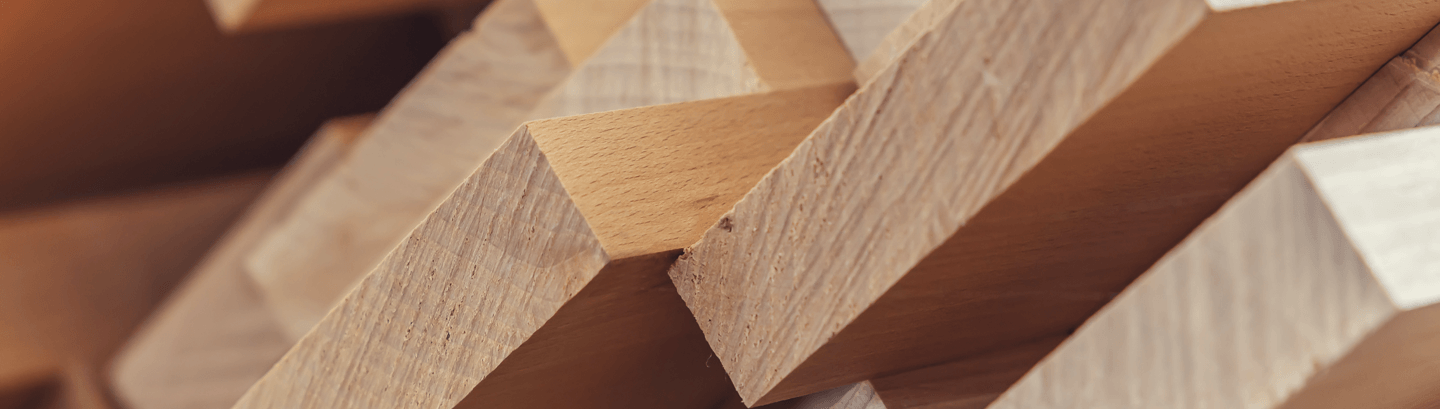
The tread/riser kits are suitable for the sizes shown on the exterior label however, the product can be cut to suit smaller sections if required. Please ensure the sizes are suitable for your staircase.
Please check all components carefully PRIOR to installation for any damage to the surface, as Richard Burbidge cannot be held responsible for any damage once installation has commenced.
Before commencing your installation, please read the full installation guide and watch the video. Richard Burbidge cannot be held responsible for incorrect fitting mistakes, so please take extra care.
The tread/riser kits are available in single packs or three-packs. Each pack includes battens, a tread, and a reversible riser with one side primed for painting.
It is recommended to begin fitting the treads at the top of the flights and work down, to avoid walking on newly laid treads.
Full fitting instructions can be found here.