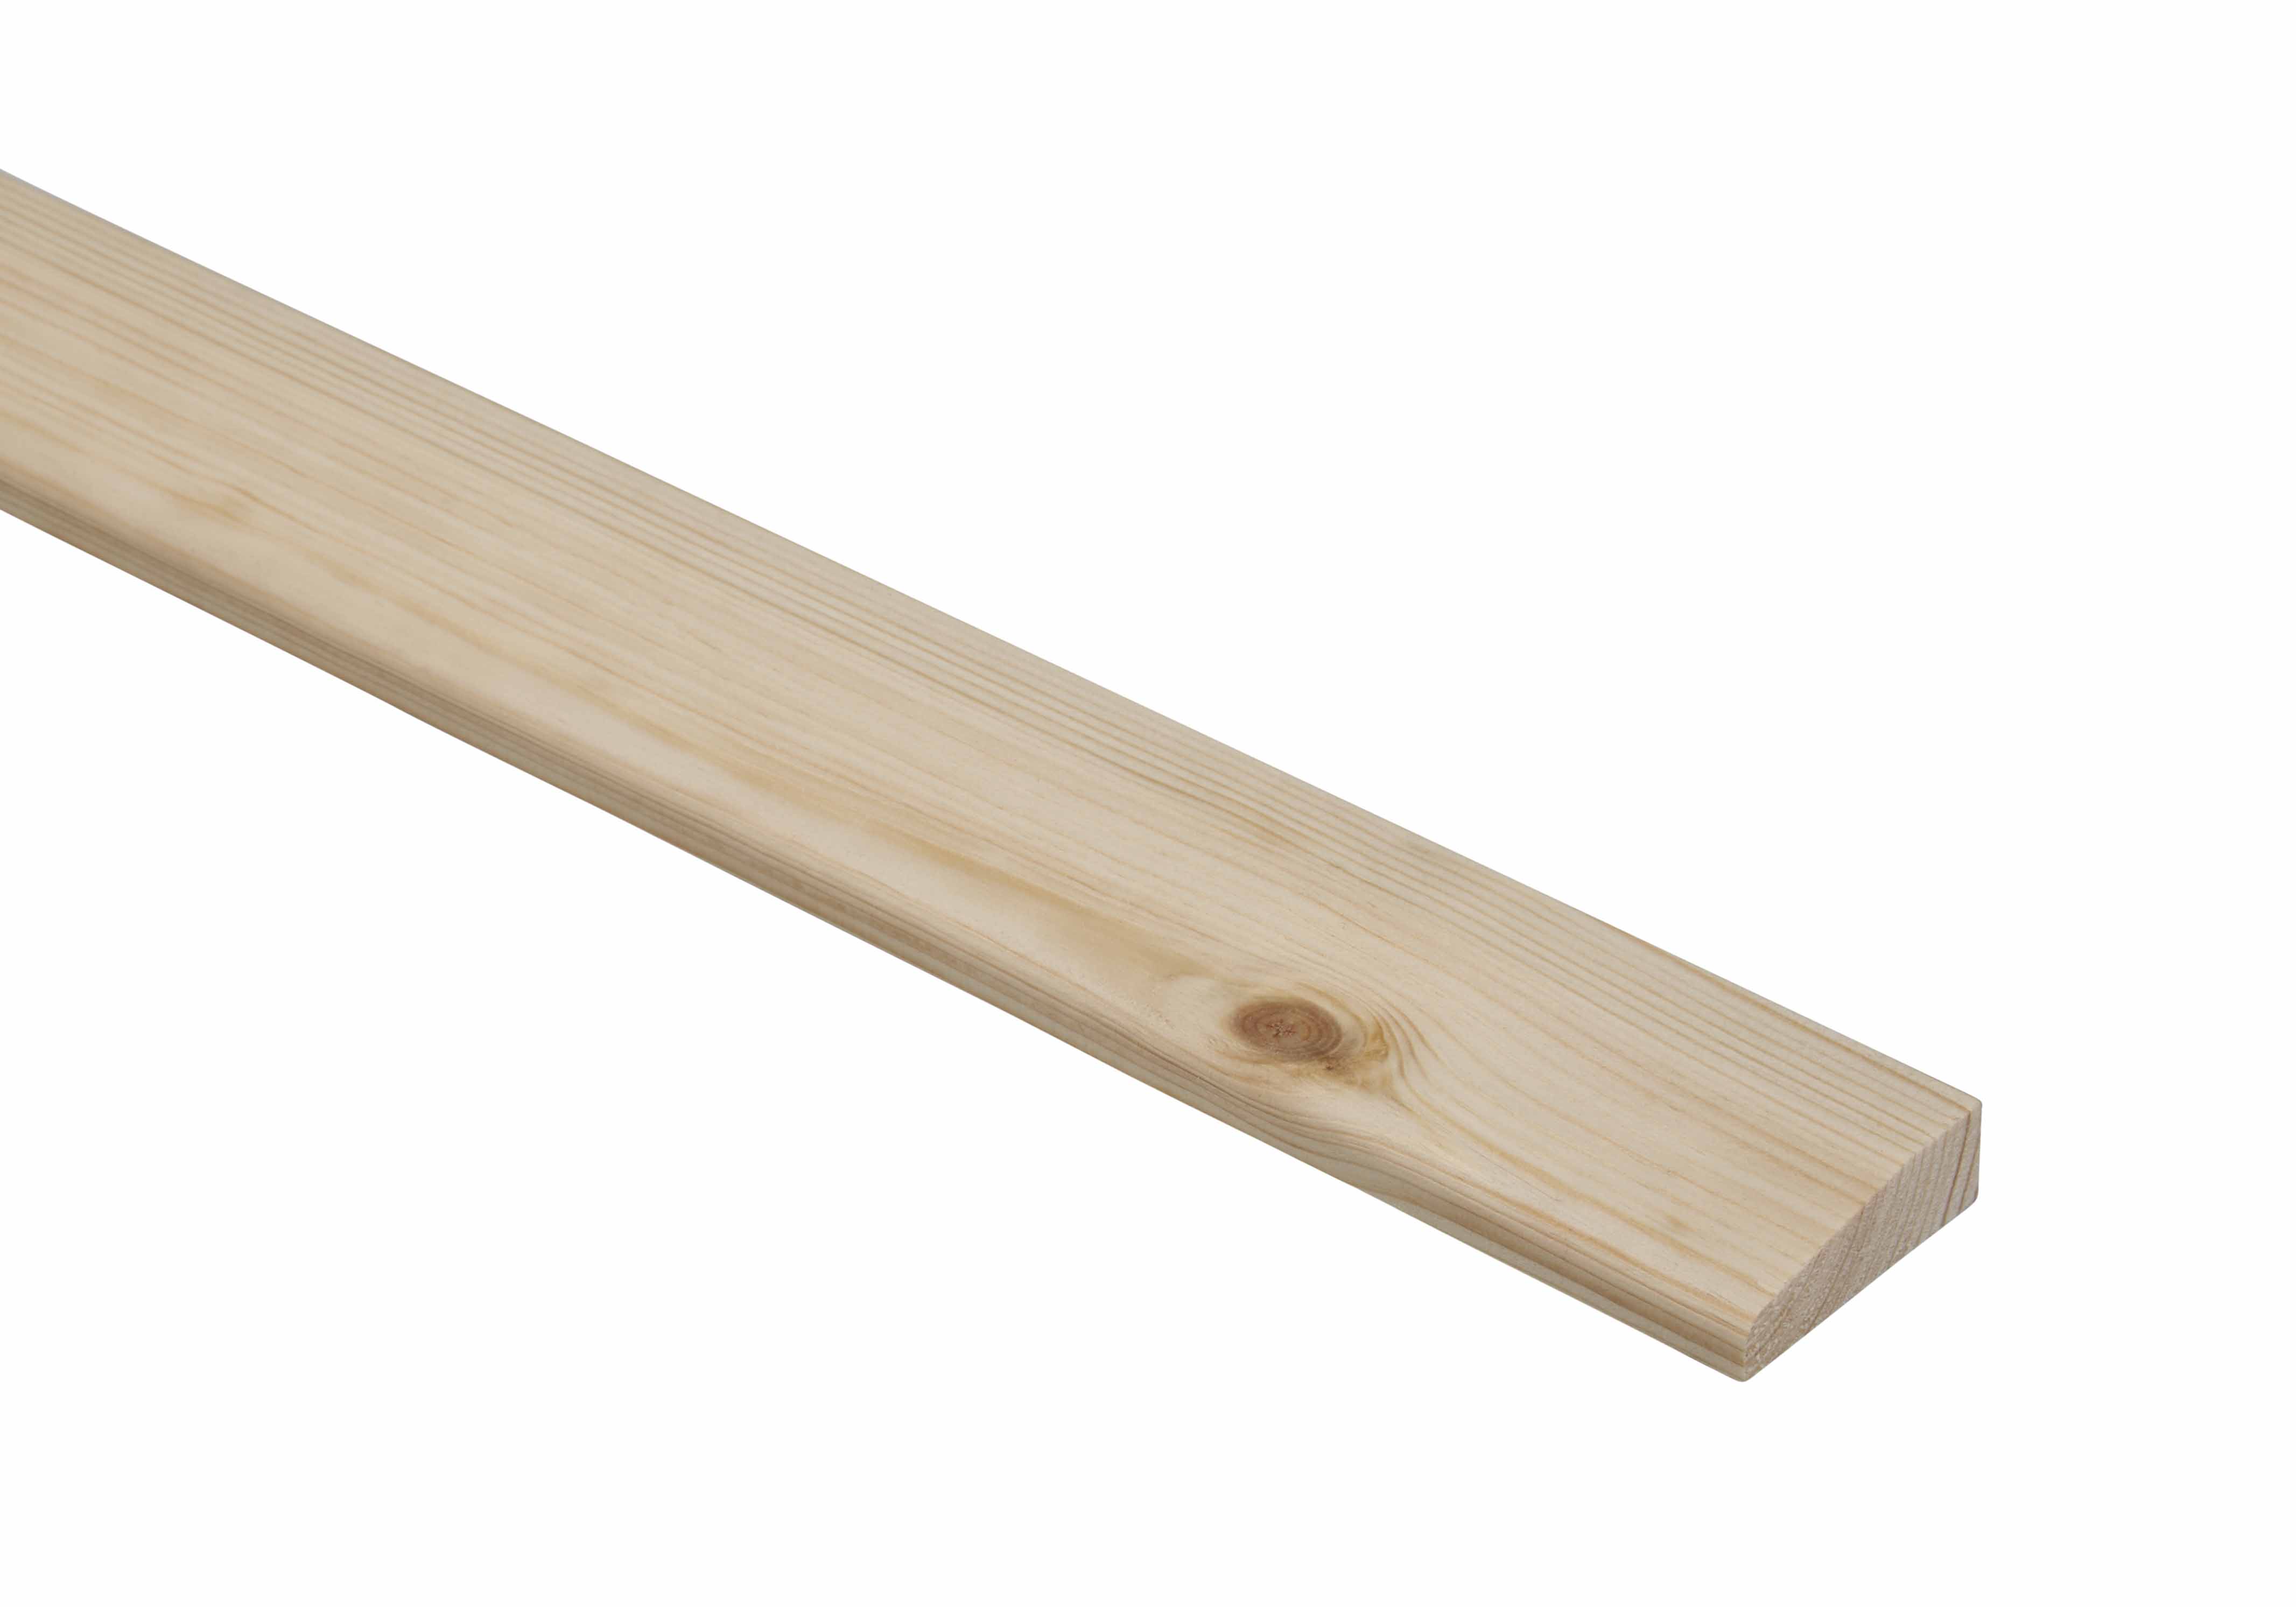
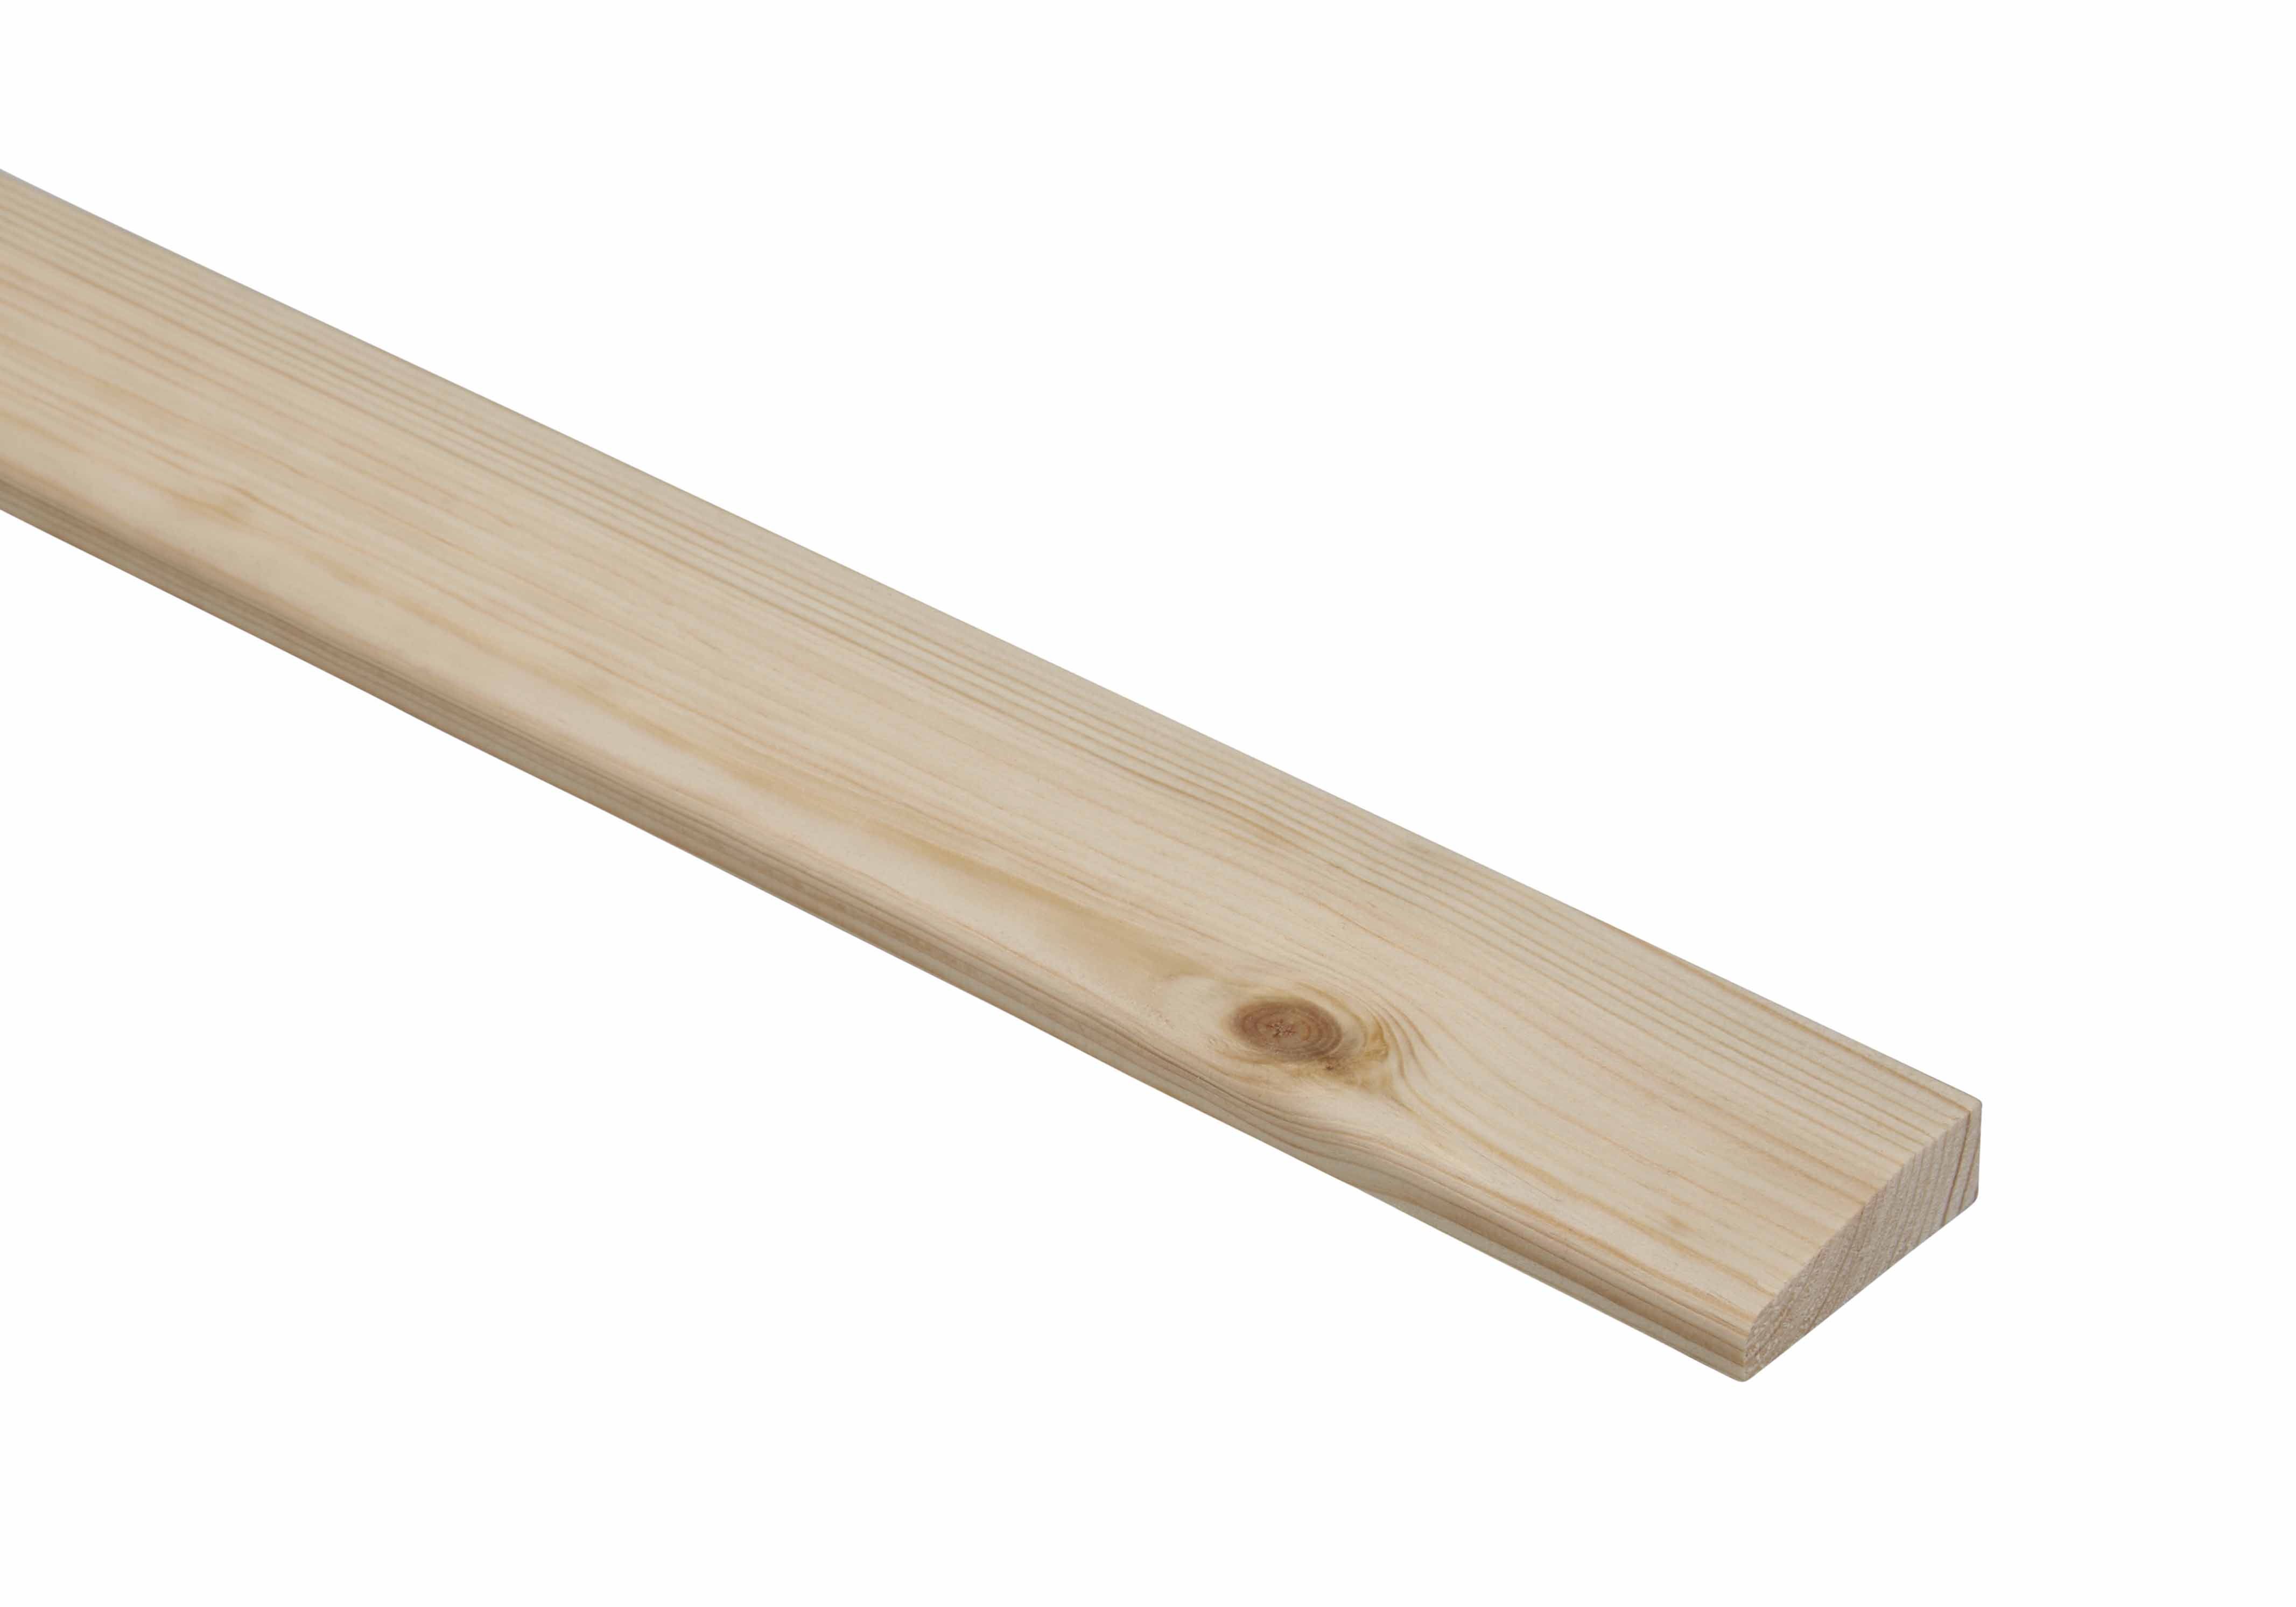
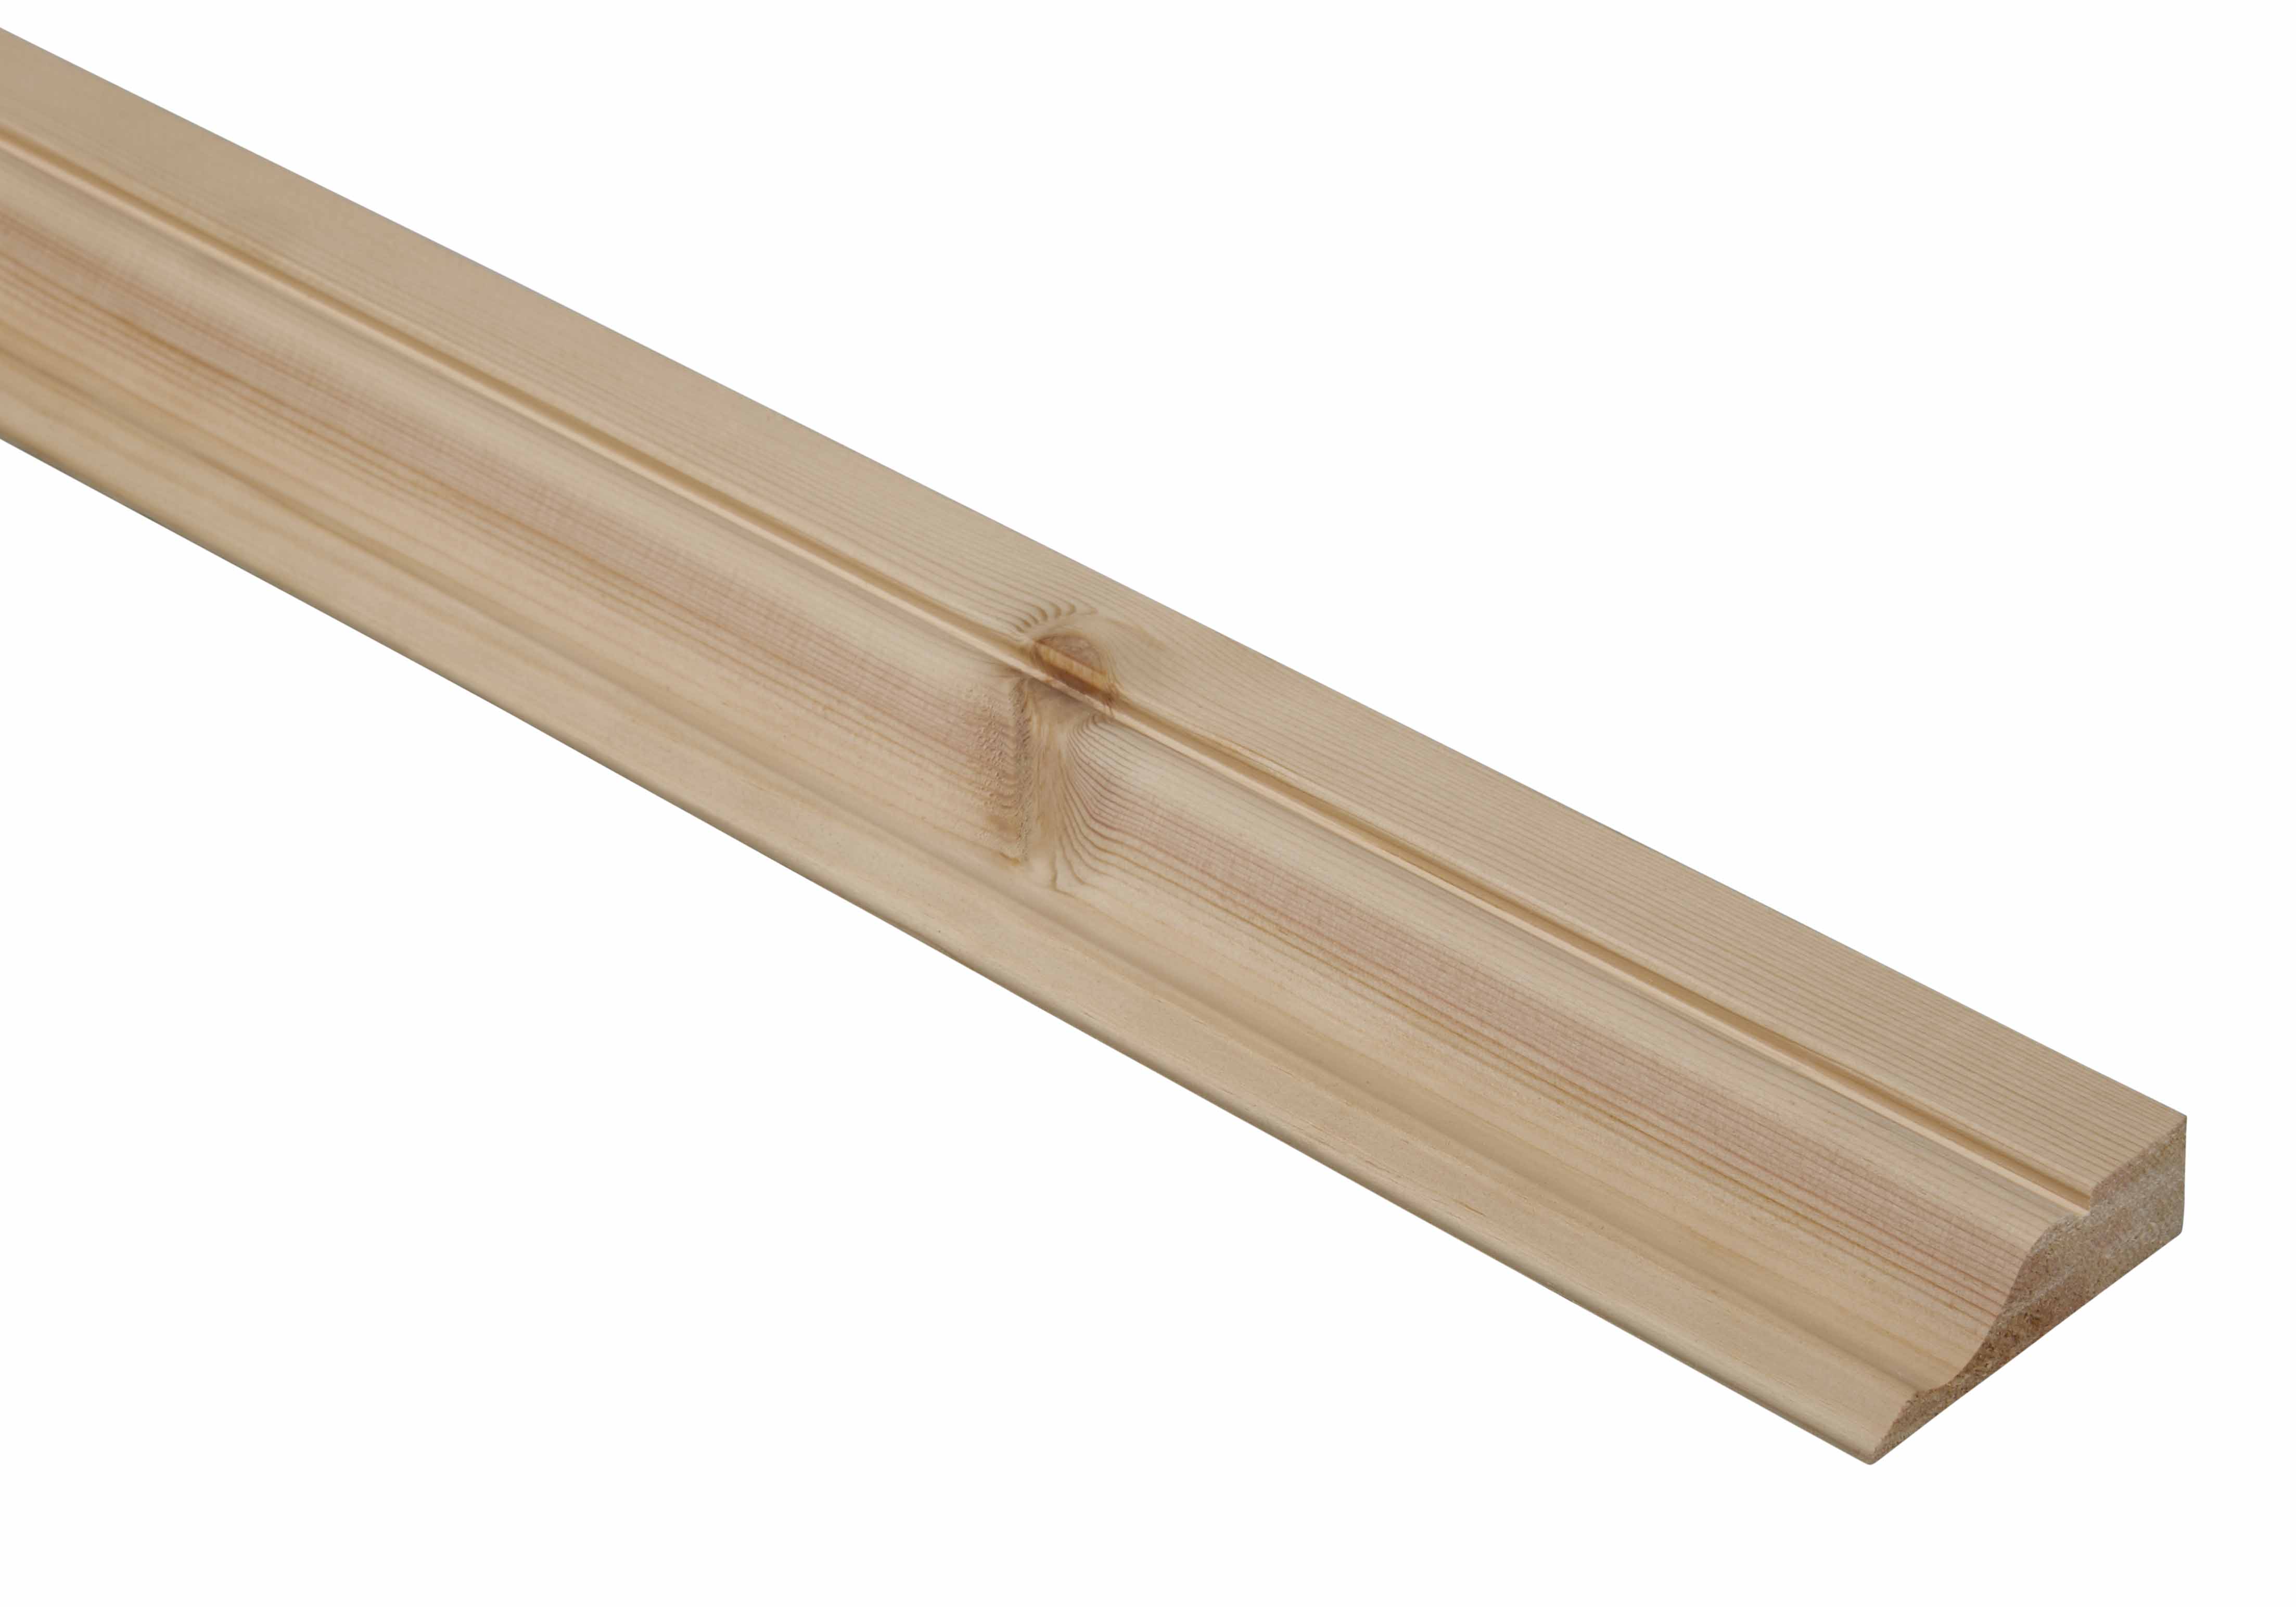
10 Pine Chamfered Architrave Mouldings 15 x 71 x 2400mm
Specification
| Material | Pine |
| Height | 71mm |
| Length | 2400mm |
| Depth | 15mm |
| Pack Weight | 11.305 Kg |
| Product Type | Chamfered Architrave |
| Unit of Measure | Pack |
| Pack Quantity | 10 |
Architrave adds a decorative surround to your door way.
Not sure if this is right for your home?
Speak to a designer with our free design service which can help you plan your perfect layout and check compatibility.
Free Design ServiceProduct Description
- Manufactured from high quality pine.
- Easy and effortless to fit using adhesive, pins, or screws.
- The planed finish makes it easy to paint, oil, wax, stain or varnish to complement your interior design.
- High quality, hardwearing and durable.
Be Inspired
Our top tips, advice and testimonials to help you get the best out of Richard Burbidge products. Discover our range and find everything from inspiration and ideas to installation and maintenance advice.
Doors FAQs
What are mouldings used for?
Mouldings are extremely versatile and can be used for many DIY projects around your home. Mouldings can be used to apply decorative features to your home, hide gaps or joints in woodwork, add practical features to a room, such as a protective dado rail or used in woodworking joints. View our mouldings collections here.
How much architrave per door?
The amount of architrave you’ll need depends on the size of the door and the style of moulding. Generally, you'll need about 3 metres (10 feet) of architrave to frame a standard-sized door, with extra for any intricate cuts. For larger doors, you might need more. It’s always best to measure your door frame first and buy a little extra, just in case!
How to fit an architrave around a door?
Fitting architrave around a door is straightforward with the right tools. Start by measuring the door frame, then cut your architrave to the correct lengths. Use a mitre saw for neat, angled cuts at the corners (typically 45° angles). Apply adhesive to the back of the architrave, press it into place and secure it with nails or a finish gun. Finally, fill any gaps with caulk or filler and sand smooth.
Is architrave the same as skirting?
No, architrave and skirting are different types of moulding, though both add a decorative finish to a room. Architrave is specifically used around door frames or windows, giving a neat edge. Skirting (or baseboard) runs along the bottom of the walls, covering the gap between the floor and the wall. While both are trims, they serve different purposes in your home’s design.
Should architrave match skirting?
While it’s not a strict rule, matching your architrave to your skirting can create a more consistent look throughout the room. If you prefer a more traditional aesthetic, we recommend matching the two. Mixing different styles can also work for your home aesthetic, for example, you could use a more decorative architrave and a simpler skirting, which adds contrast to the space. The key is to maintain a cohesive overall design that you love.
What is the difference between a door frame and an architrave?
A door frame is the structural frame that holds the door in place. It includes the jambs, head and sill (bottom part) of the door. Architrave, on the other hand, is a decorative trim that surrounds the door frame. The purpose of an Architrave is to cover the gap between the door frame and the wall, adding a finishing touch and enhancing the aesthetic of the door opening.
our door mouldings are also used to add design interest to plain doors, read our guide on how to renovate plain doors.


