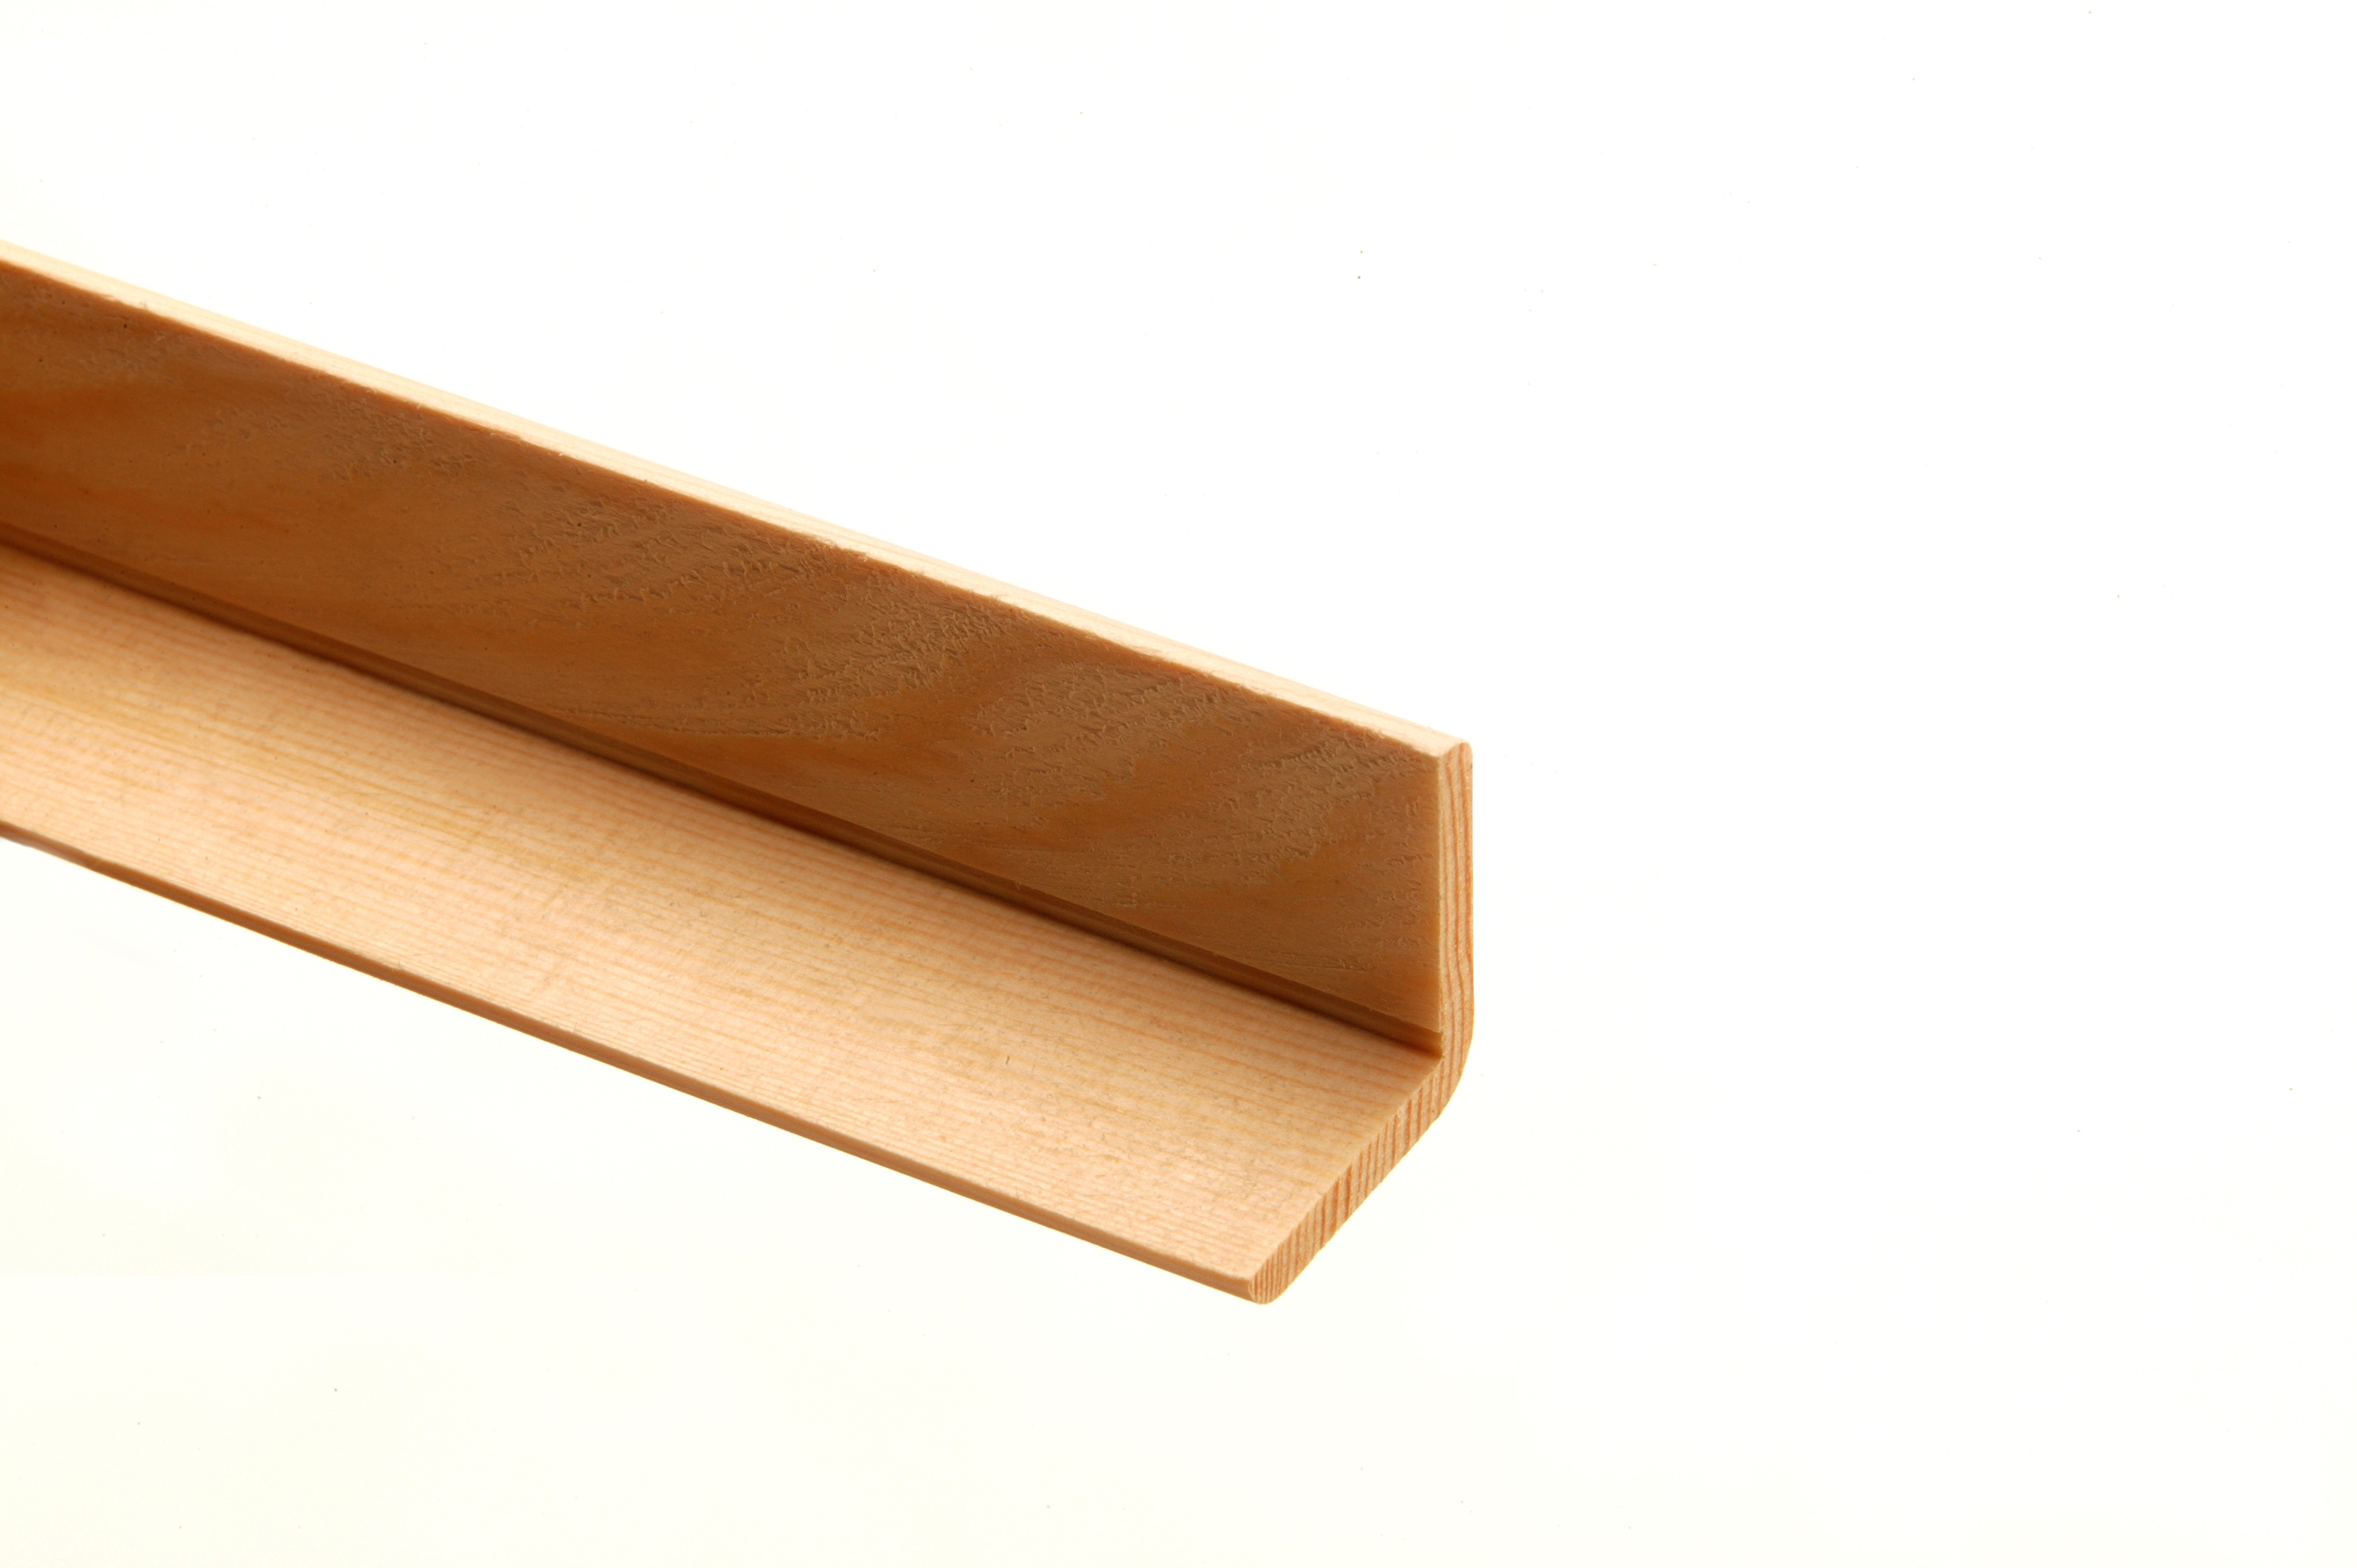
20 Pine Basic Angle Mouldings 18 x 18 x 2400mm

Specification
| Material | Pine |
| Height | 18mm |
| Length | 2400mm |
| Depth | 18mm |
| Pack Weight | 3.985 Kg |
| Product Type | Basic Angle |
| Unit of Measure | Pack |
| Pack Quantity | 20 |
Not sure if this is right for your home?
Speak to a designer with our free design service which can help you plan your perfect layout and check compatibility.
Free Design ServiceProduct Description
- Manufactured from high quality pine.
- Easy and effortless to fit using adhesive, pins, or screws.
- The planed finish makes it easy to paint, oil, wax, stain or varnish to complement your interior design.
- High quality, hardwearing and durable.
People Also Viewed

Helps prevent draughts to improve the insulation within your home.

Helps prevent draughts to improve the insulation within your home.

Helps prevent draughts to improve the insulation within your home.
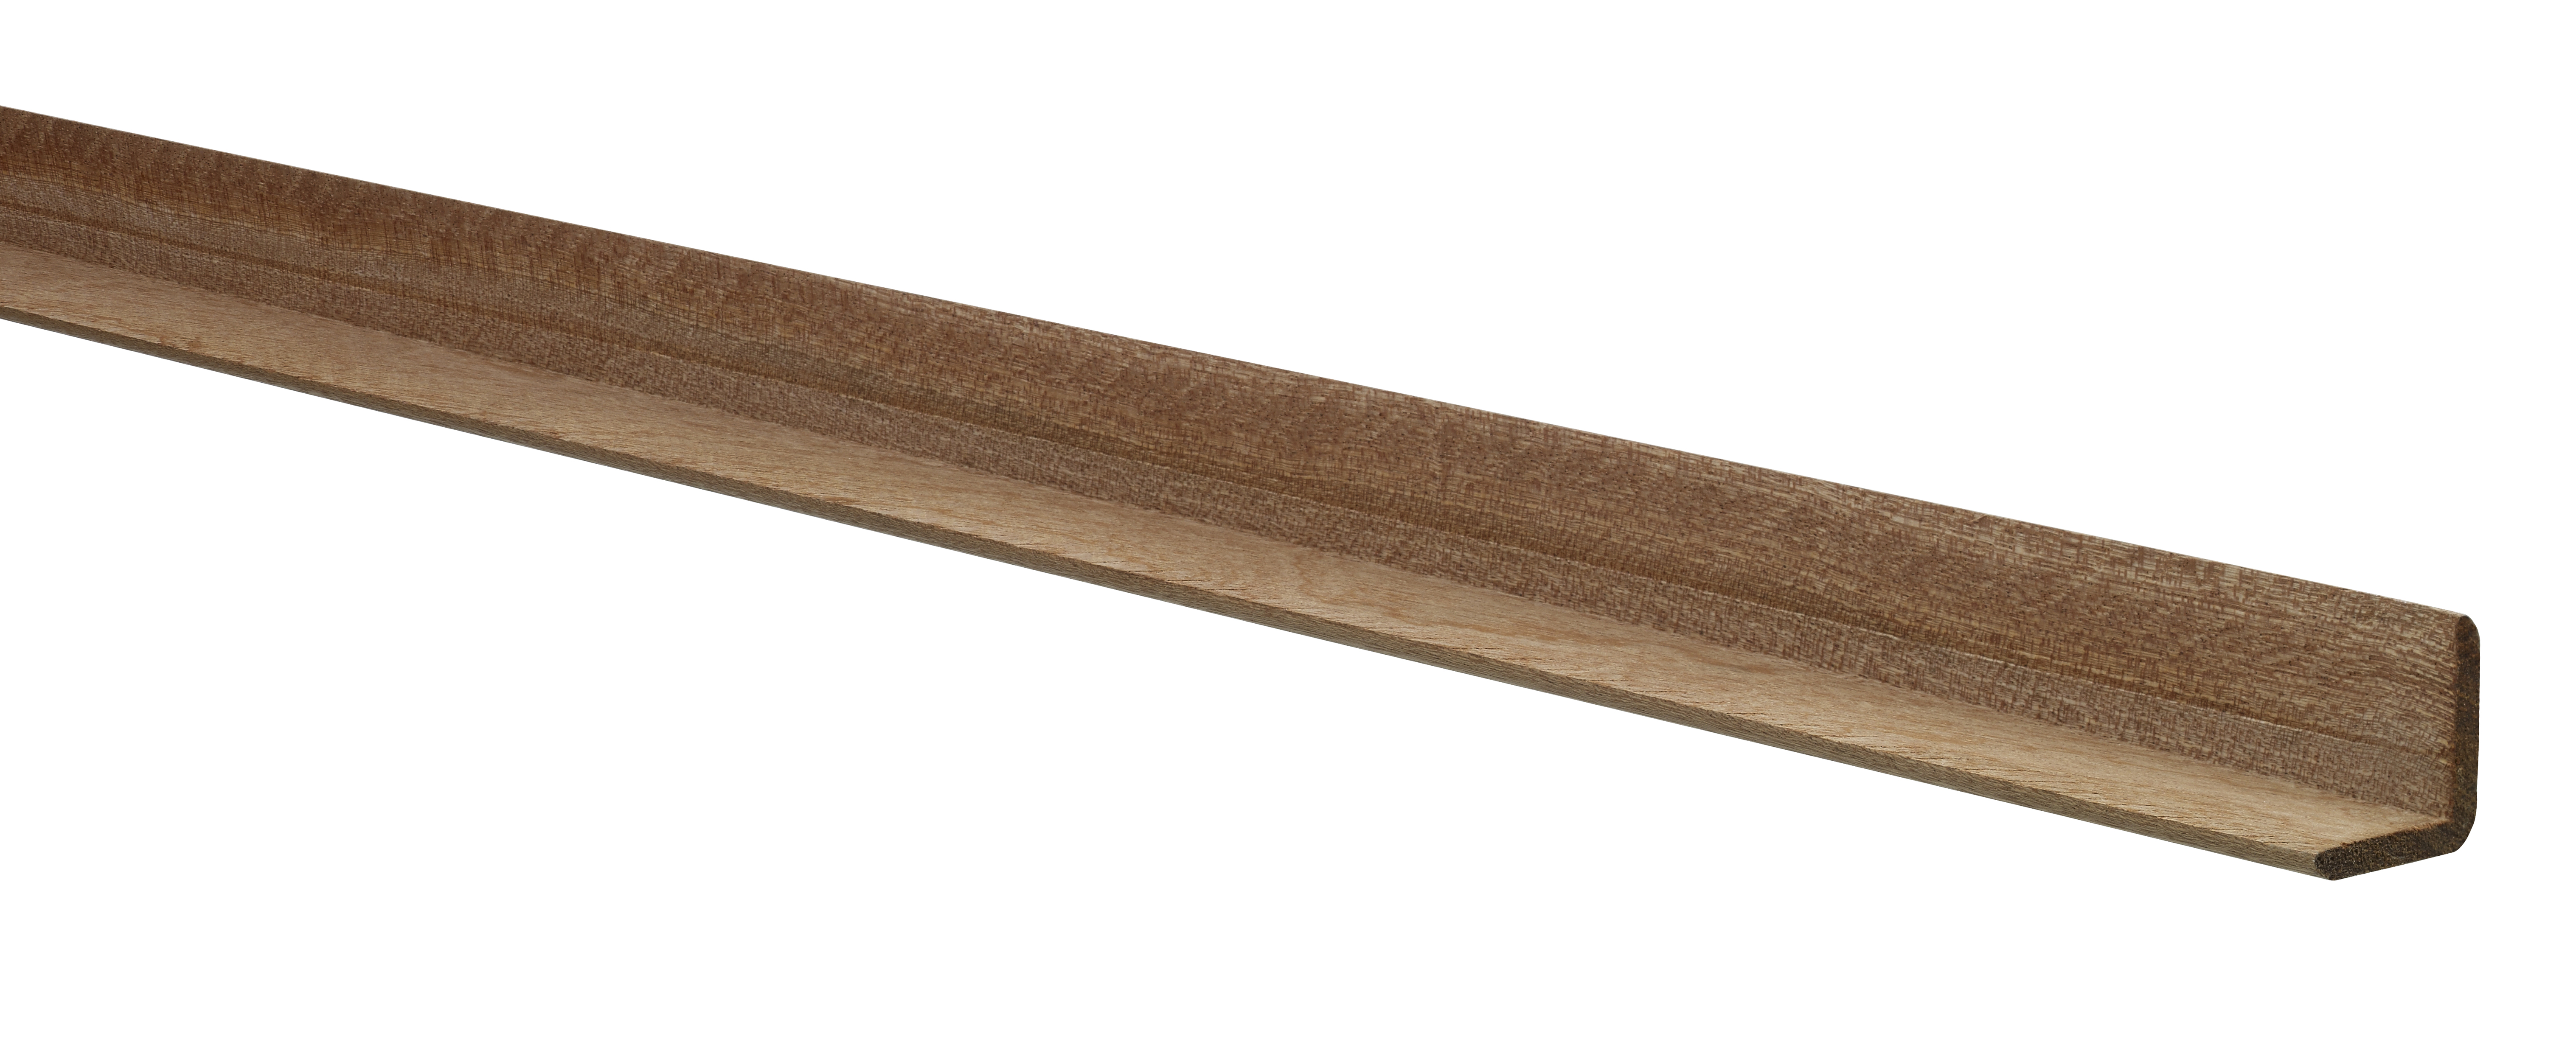
The slightly rounded profile can add a smoothness to any corner.
Be Inspired
Our top tips, advice and testimonials to help you get the best out of Richard Burbidge products. Discover our range and find everything from inspiration and ideas to installation and maintenance advice.


Corners
Our corner mouldings are designed to deliver a clean, polished finish wherever two surfaces meet, perfect for both decorative detailing and functional protection. Whether you're refining an internal join or concealing external edges, this range has a practical profile for every need.
Quadrants are ideal for bridging small gaps in internal corners, offering a smooth transition between walls, ceilings, or furniture. Angles work on both external and internal corners, cleverly hiding screw fixings and minor imperfections. [read_more]
Crafted from high-quality timber, these corner mouldings for walls are easy to cut, fit, and finish, ideal for DIY and professional use.
Explore options for moulding inside corners, outside corners, and more, all designed to elevate your interiors with simplicity and style.
View All ProductsCorners FAQs
What is a wood quadrant?
A wood quadrant is a type of moulding with a rounded, quarter-circle profile, often used to cover the joint where two surfaces meet. It’s commonly used in corners where walls meet the floor, ceiling, or around door frames. The curved edge of quadrant moulding adds a decorative touch and helps hide gaps or imperfections in the corner. It’s a versatile trim that works well in traditional and modern interiors.
What is quadrant trim used for?
A quadrant trim is used to cover joints in corners where two surfaces meet, such as where a wall meets the floor or around window and door frames. It is used to tidy up transitions between different materials or finishes, providing a clean and polished look. The rounded shape of a quadrant trim softens sharp angles and provides a finished and refined appearance. They are typically used in living areas, bathrooms or hallways.
How to do scotia corners?
To fit scotia corners, you'll need to make angled cuts to ensure the trim fits neatly around corners. The easiest way to do this is by using a mitre saw to cut each piece of scotia at a 45° angle at the corner where the two lengths meet. Be sure to measure accurately, as any gaps or misaligned corners will be visible. Once cut, apply adhesive to the back of the scotia and press it firmly into place. For a clean look, use filler to smooth out any gaps before painting or finishing.
