
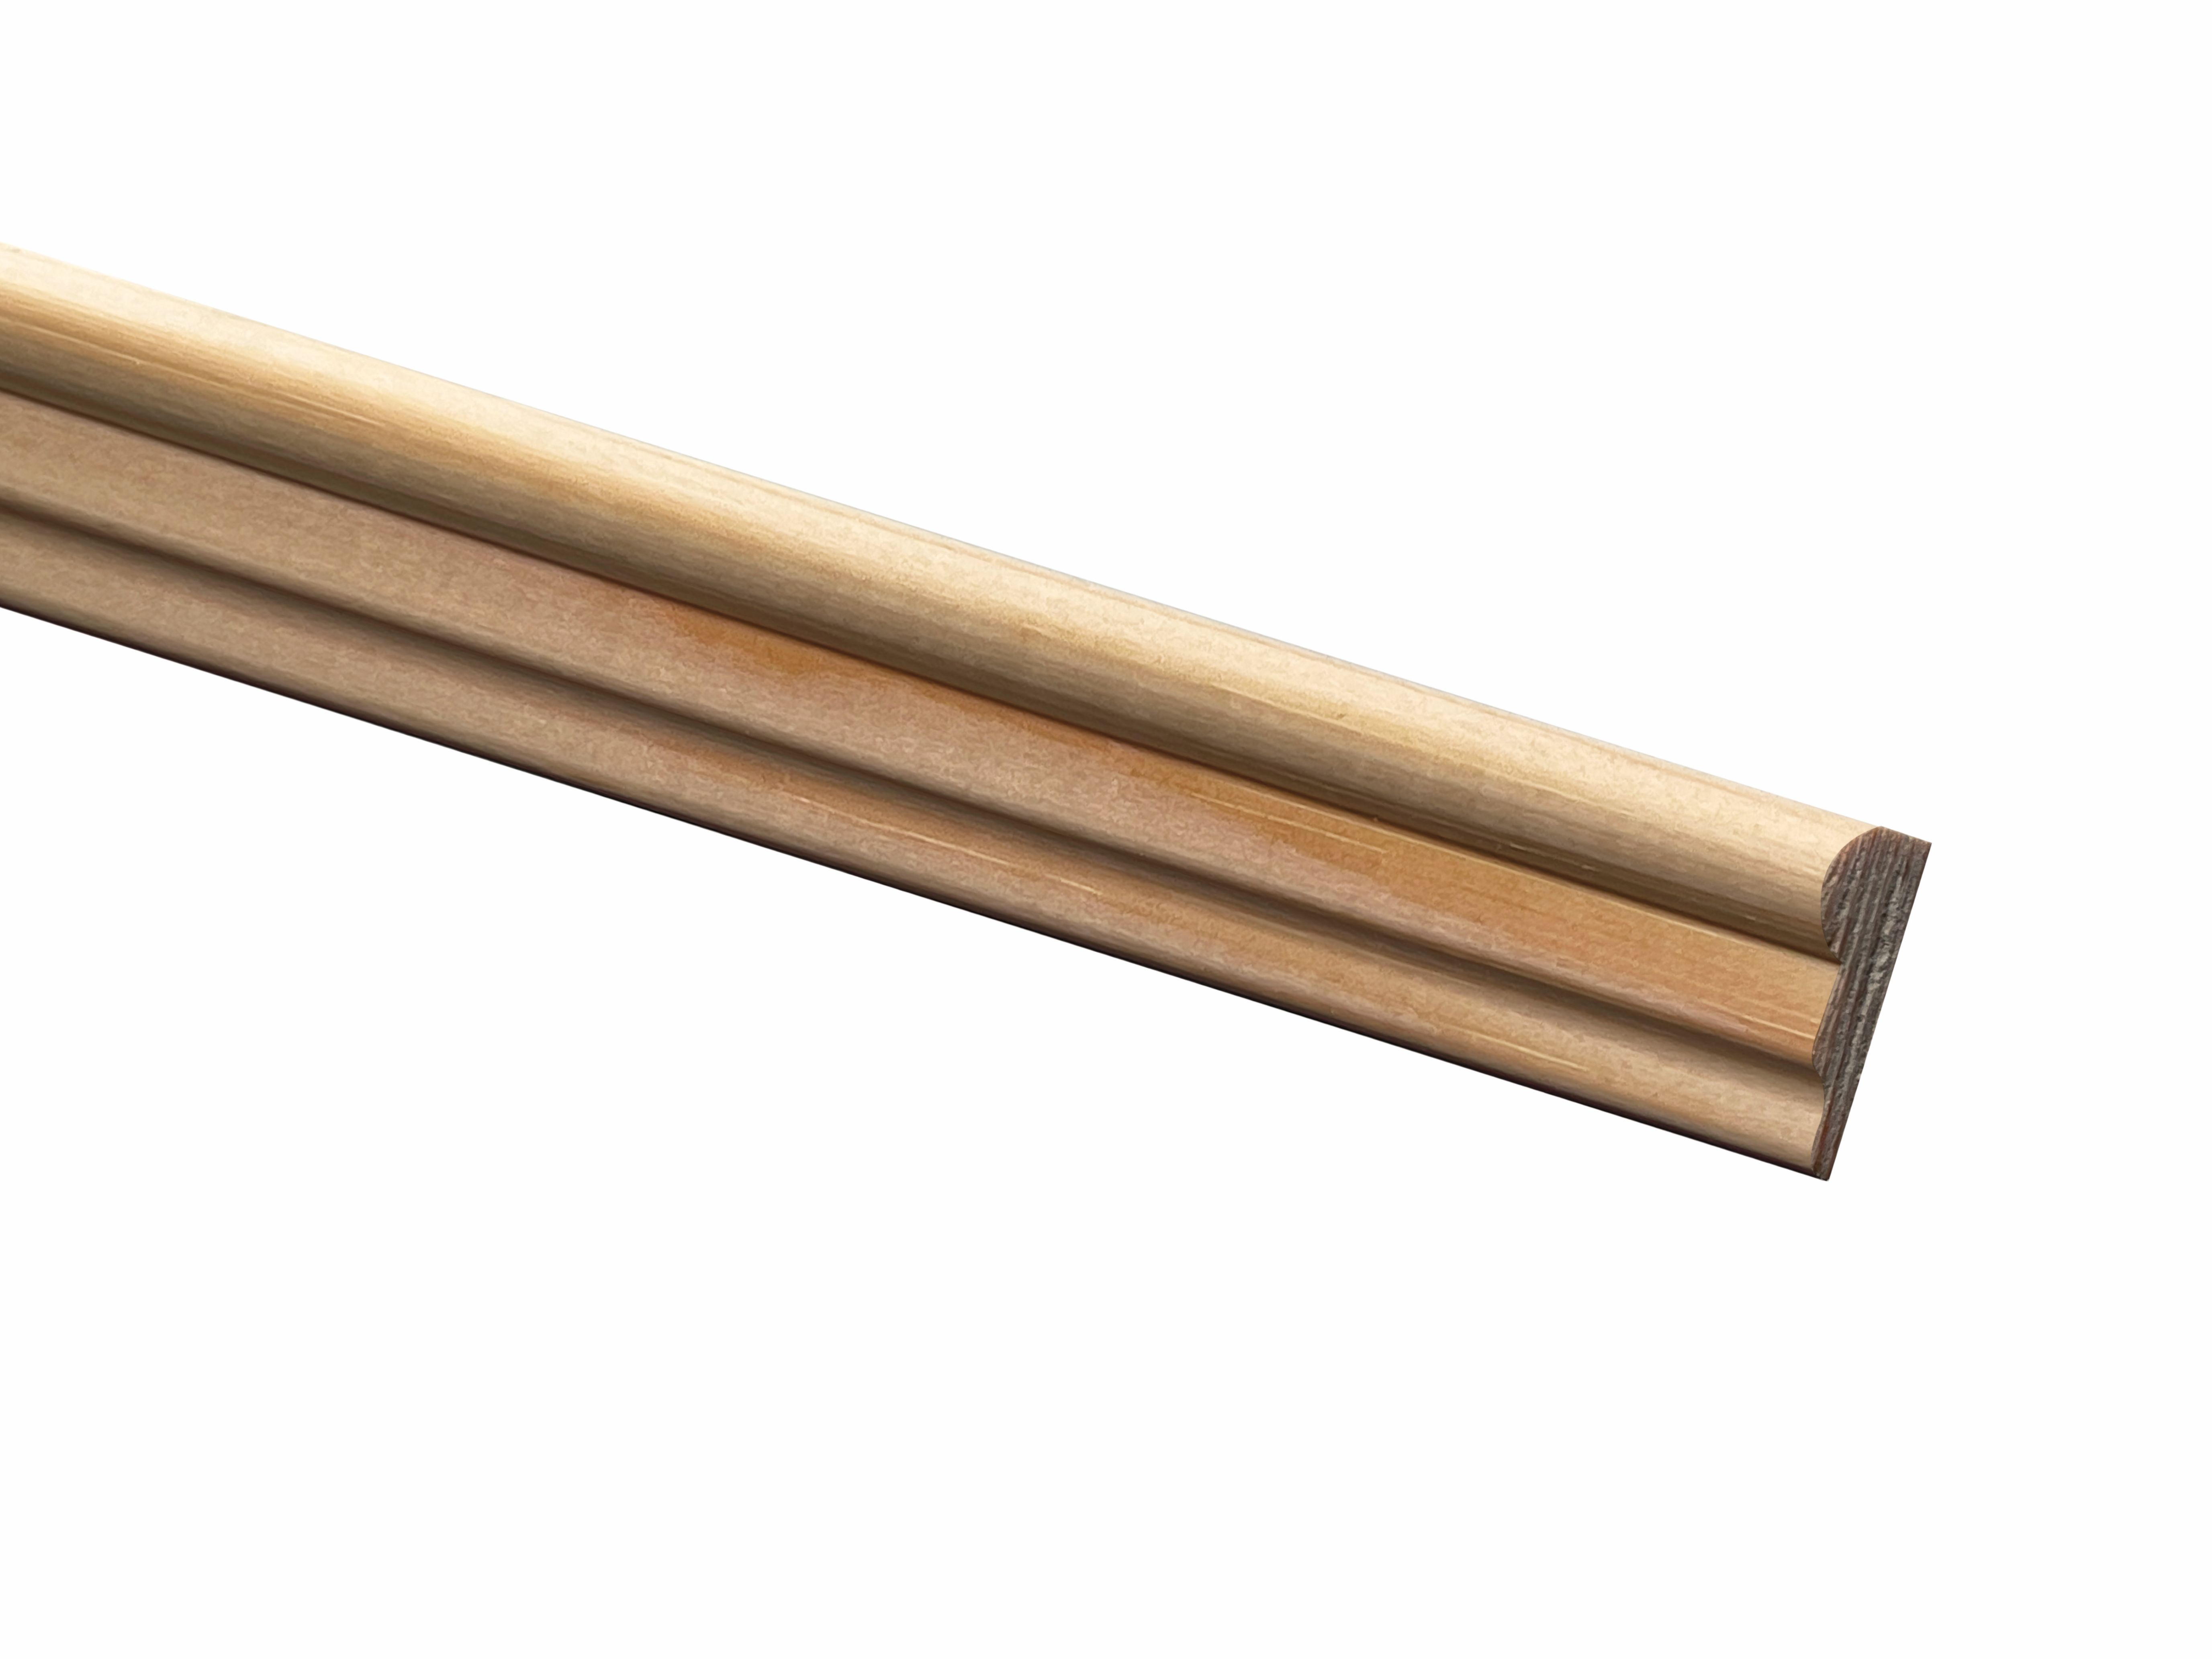
24 Pine Broken Ogee Mouldings 8 x 21 x 2400mm

Specification
| Material | Pine |
| Height | 21mm |
| Length | 2400mm |
| Depth | 8mm |
| Pack Weight | 3.650 Kg |
| Product Type | Broken Ogee |
| Unit of Measure | Pack |
| Pack Quantity | 24 |
Broken ogee mouldings enhance the architecture of the room, and are typically used on walls, doors and cupboards.
Not sure if this is right for your home?
Speak to a designer with our free design service which can help you plan your perfect layout and check compatibility.
Free Design ServiceProduct Description
- Manufactured from high quality pine.
- Easy and effortless to fit using adhesive, pins, or screws.
- The planed finish makes it easy to paint, oil, wax, stain or varnish to complement your interior design.
- High quality, hardwearing and durable.
People Also Viewed

Astragal mouldings enhance the architecture of the room, and are typically used on walls, doors and cupboards.
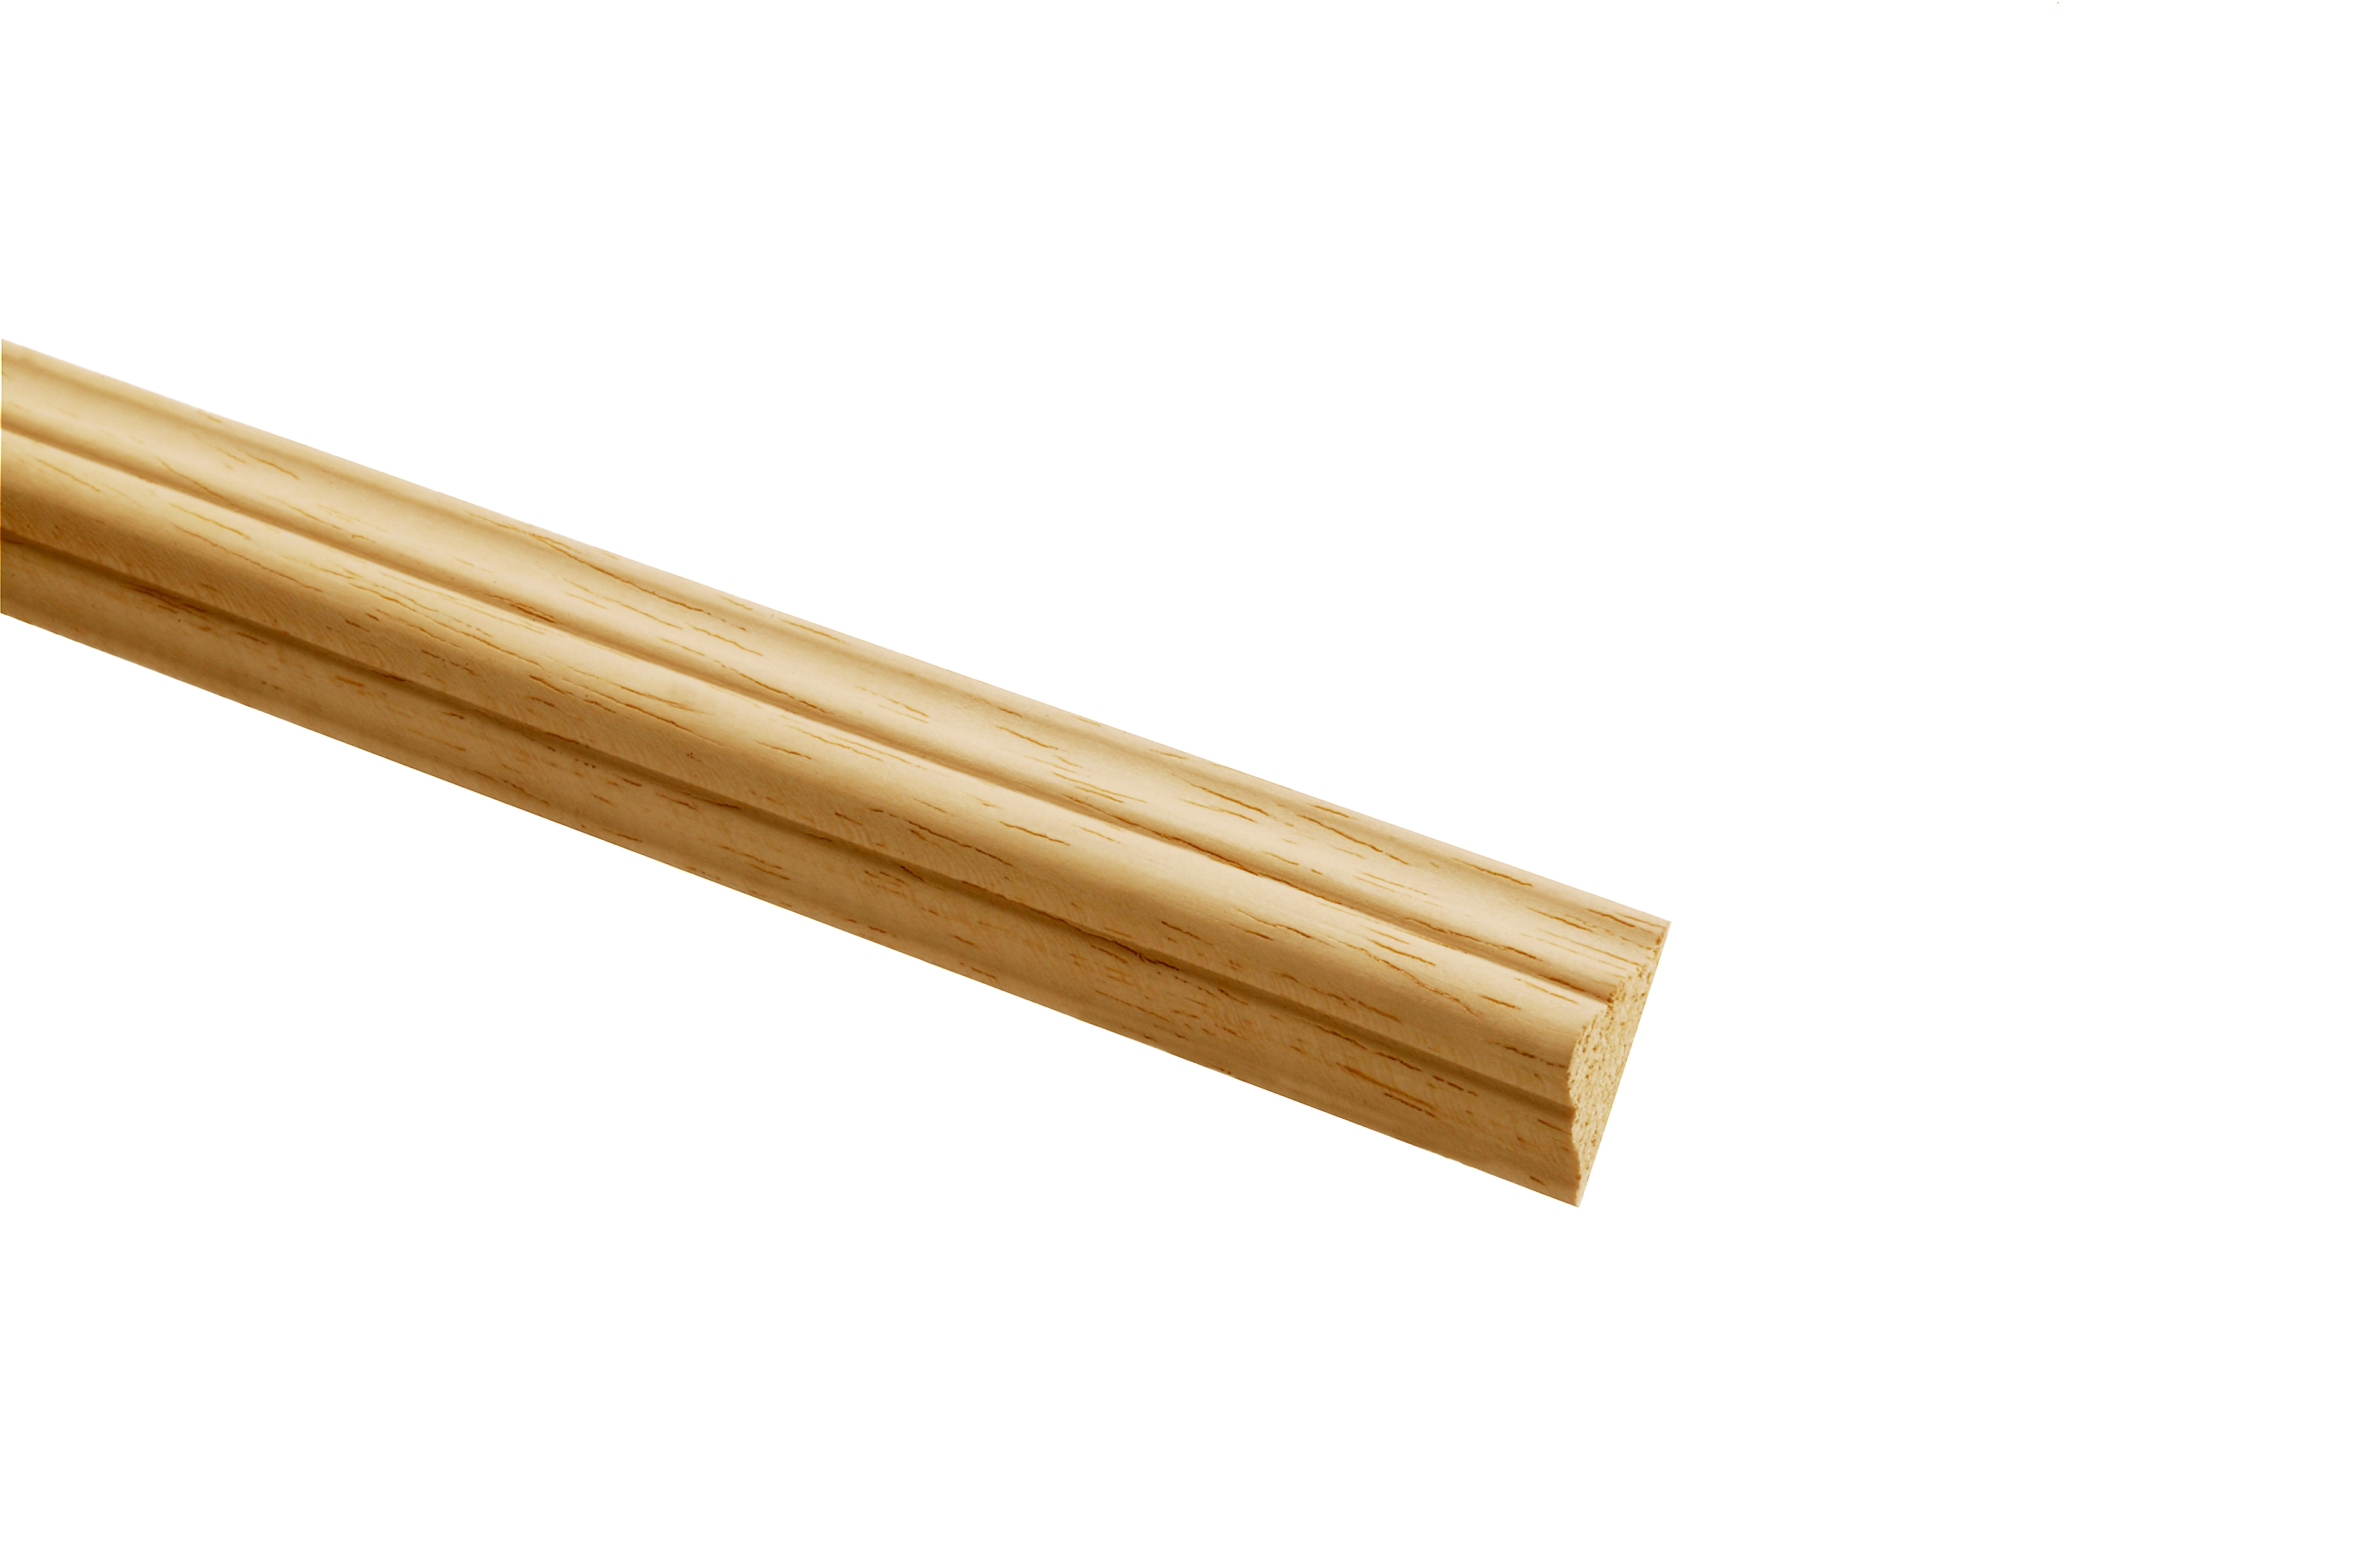
Astragal mouldings enhance the architecture of the room, and are typically used on walls, doors and cupboards.
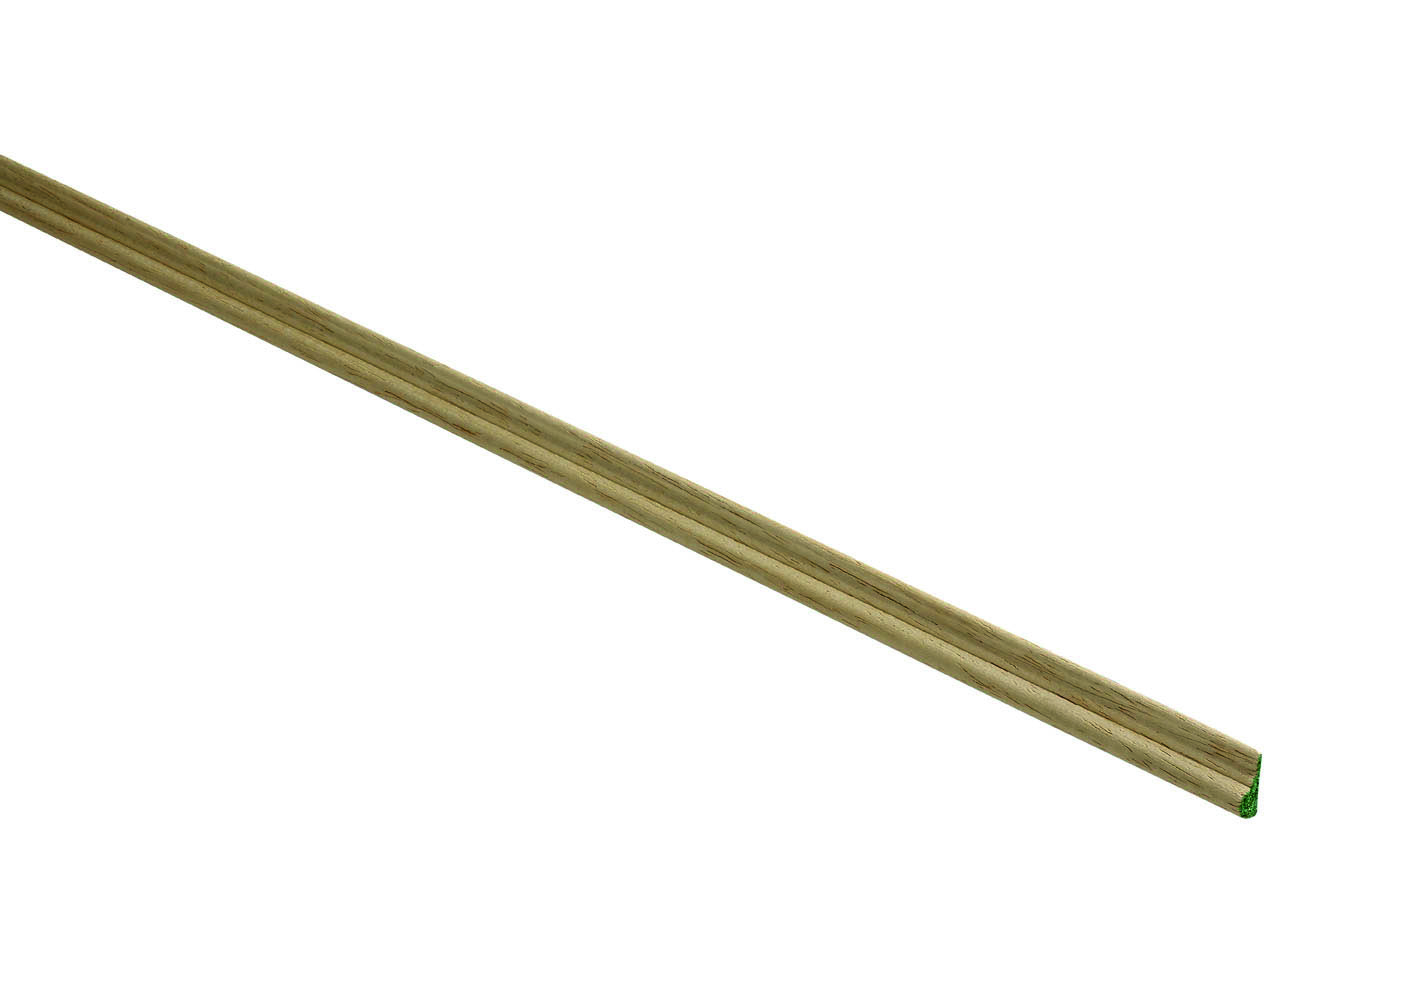
Broken ogee mouldings enhance the architecture of the room, and are typically used on walls, doors and cupboards.

Broken ogee mouldings enhance the architecture of the room, and are typically used on walls, doors and cupboards.
Be Inspired
Our top tips, advice and testimonials to help you get the best out of Richard Burbidge products. Discover our range and find everything from inspiration and ideas to installation and maintenance advice.


Decorative
Make a statement with our range of decorative mouldings, designed to add depth, detail, and elegance to any space. Whether you're restoring period charm or creating a contemporary feature, these profiles offer a timeless way to enrich your interiors.
Available in oak, pine, light hardwood and primed finishes, our decorative moulding profiles bring life to otherwise plain surfaces. Use them to define walls, enhance door and window frames, or add a finishing touch to ceilings.
[read_more]
Perfect for both traditional and modern projects, these decorative moulding profiles are easy to install and ready for finishing. Transform your space with decorative mouldings for walls that deliver both subtle sophistication and standout style.
View All ProductsDecorative FAQs
What are mouldings used for?
Mouldings are extremely versatile and can be used for many DIY projects around your home. Mouldings can be used to apply decorative features to your home, hide gaps or joints in woodwork, add practical features to a room, such as a protective dado rail or used in woodworking joints. View our mouldings collections here.
How can decorative moulding be sanded?
Decorative moulding should be sanded by hand with fine-grit sandpaper, working along the grain and following the shape of the profile so the detail stays crisp. Here’s how:
- Start with 120 to 180 grit to smooth cut ends and any rough patches.
- Follow the curves. Wrap the sandpaper around a piece of dowel or a sanding sponge so it fits the shape of the profile. A flat block will flatten the beads and edges of astragal and ogee mouldings.
- Finish with 240 grit for a smooth surface before painting, staining or varnishing.
- Remove the dust with a tack cloth or a slightly damp cloth before applying a finish.
Primed mouldings only need a light rub with 240 grit between coats. Avoid power sanders on small or detailed profiles, because they can quickly round off the edges that give a moulding its character.
How do you cut decorative moulding?
Decorative moulding is cut with a fine-toothed saw and a mitre box, or with a power mitre saw. Use a 45-degree cut wherever two lengths meet at a corner. Here’s how:
- Measure and mark. Measure the length you need and mark it on the back of the moulding, noting which way the angle should run.
- Position the moulding. Place it face up in the mitre box or saw, with the back held firmly against the fence, so it doesn’t move during the cut.
- Cut slowly. Let the saw do the work. Leave a millimetre or two extra if you’re unsure, then trim it back.
- Check the fit. Dry-fit each corner before fixing, and lightly sand the cut ends to remove any splinters.
Use a 90-degree straight cut where a moulding meets a wall or door frame, or for butt-jointed panel designs. For a step-by-step project, see our how to renovate plain doors guide.
How do you use decorative mouldings on walls?
Decorative mouldings are fixed to a wall to add shape, shadow and character to a plain surface. The most popular uses are:
- Picture frame panels: rectangles of panel moulding set out evenly across the wall, painted the same colour as the wall for a classic period look.
- Dado rails: a horizontal rail, usually fitted about a third of the way up the wall, that splits the wall into two colours or finishes.
- Picture rails: a rail fitted a short distance below the ceiling, traditionally used to hang artwork.
- Feature details: mouldings used to frame a fireplace, a headboard wall or a doorway.
To fit them, plan your layout on paper and then mark it on the wall with a spirit level. Cut the mouldings to length, mitring the corners at 45 degrees. Fix them with a strong adhesive and panel pins. Fill any gaps with decorator’s caulk before painting. For a full walkthrough, see our how to fit wall panelling guide.
