Classic Kit 4
Specification
| Finish | PaintReady |
| Material | Radiata Pine |
| Height | 1000mm |
| Length | 420mm |
| Depth | 12mm |
| Weight | 1.670 Kg |
| Product Type | Wall Panelling |
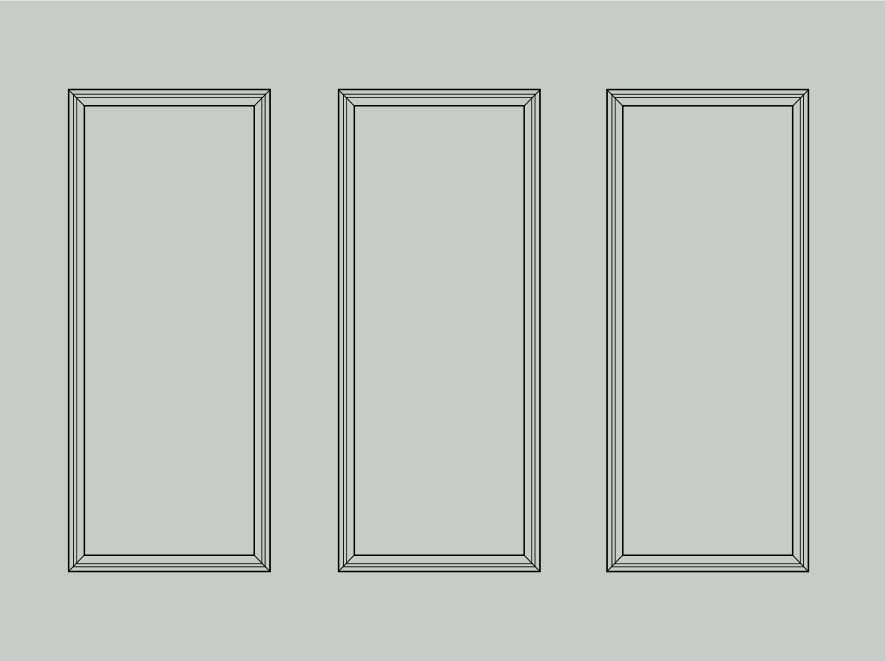
TO MAKE 3 PANELS
Panel Sizes:
1000mm (h) x 420mm (w)
Not sure if this is right for your home?
Speak to a designer with our free design service which can help you plan your perfect layout and check compatibility.
Free Design ServiceProduct Description
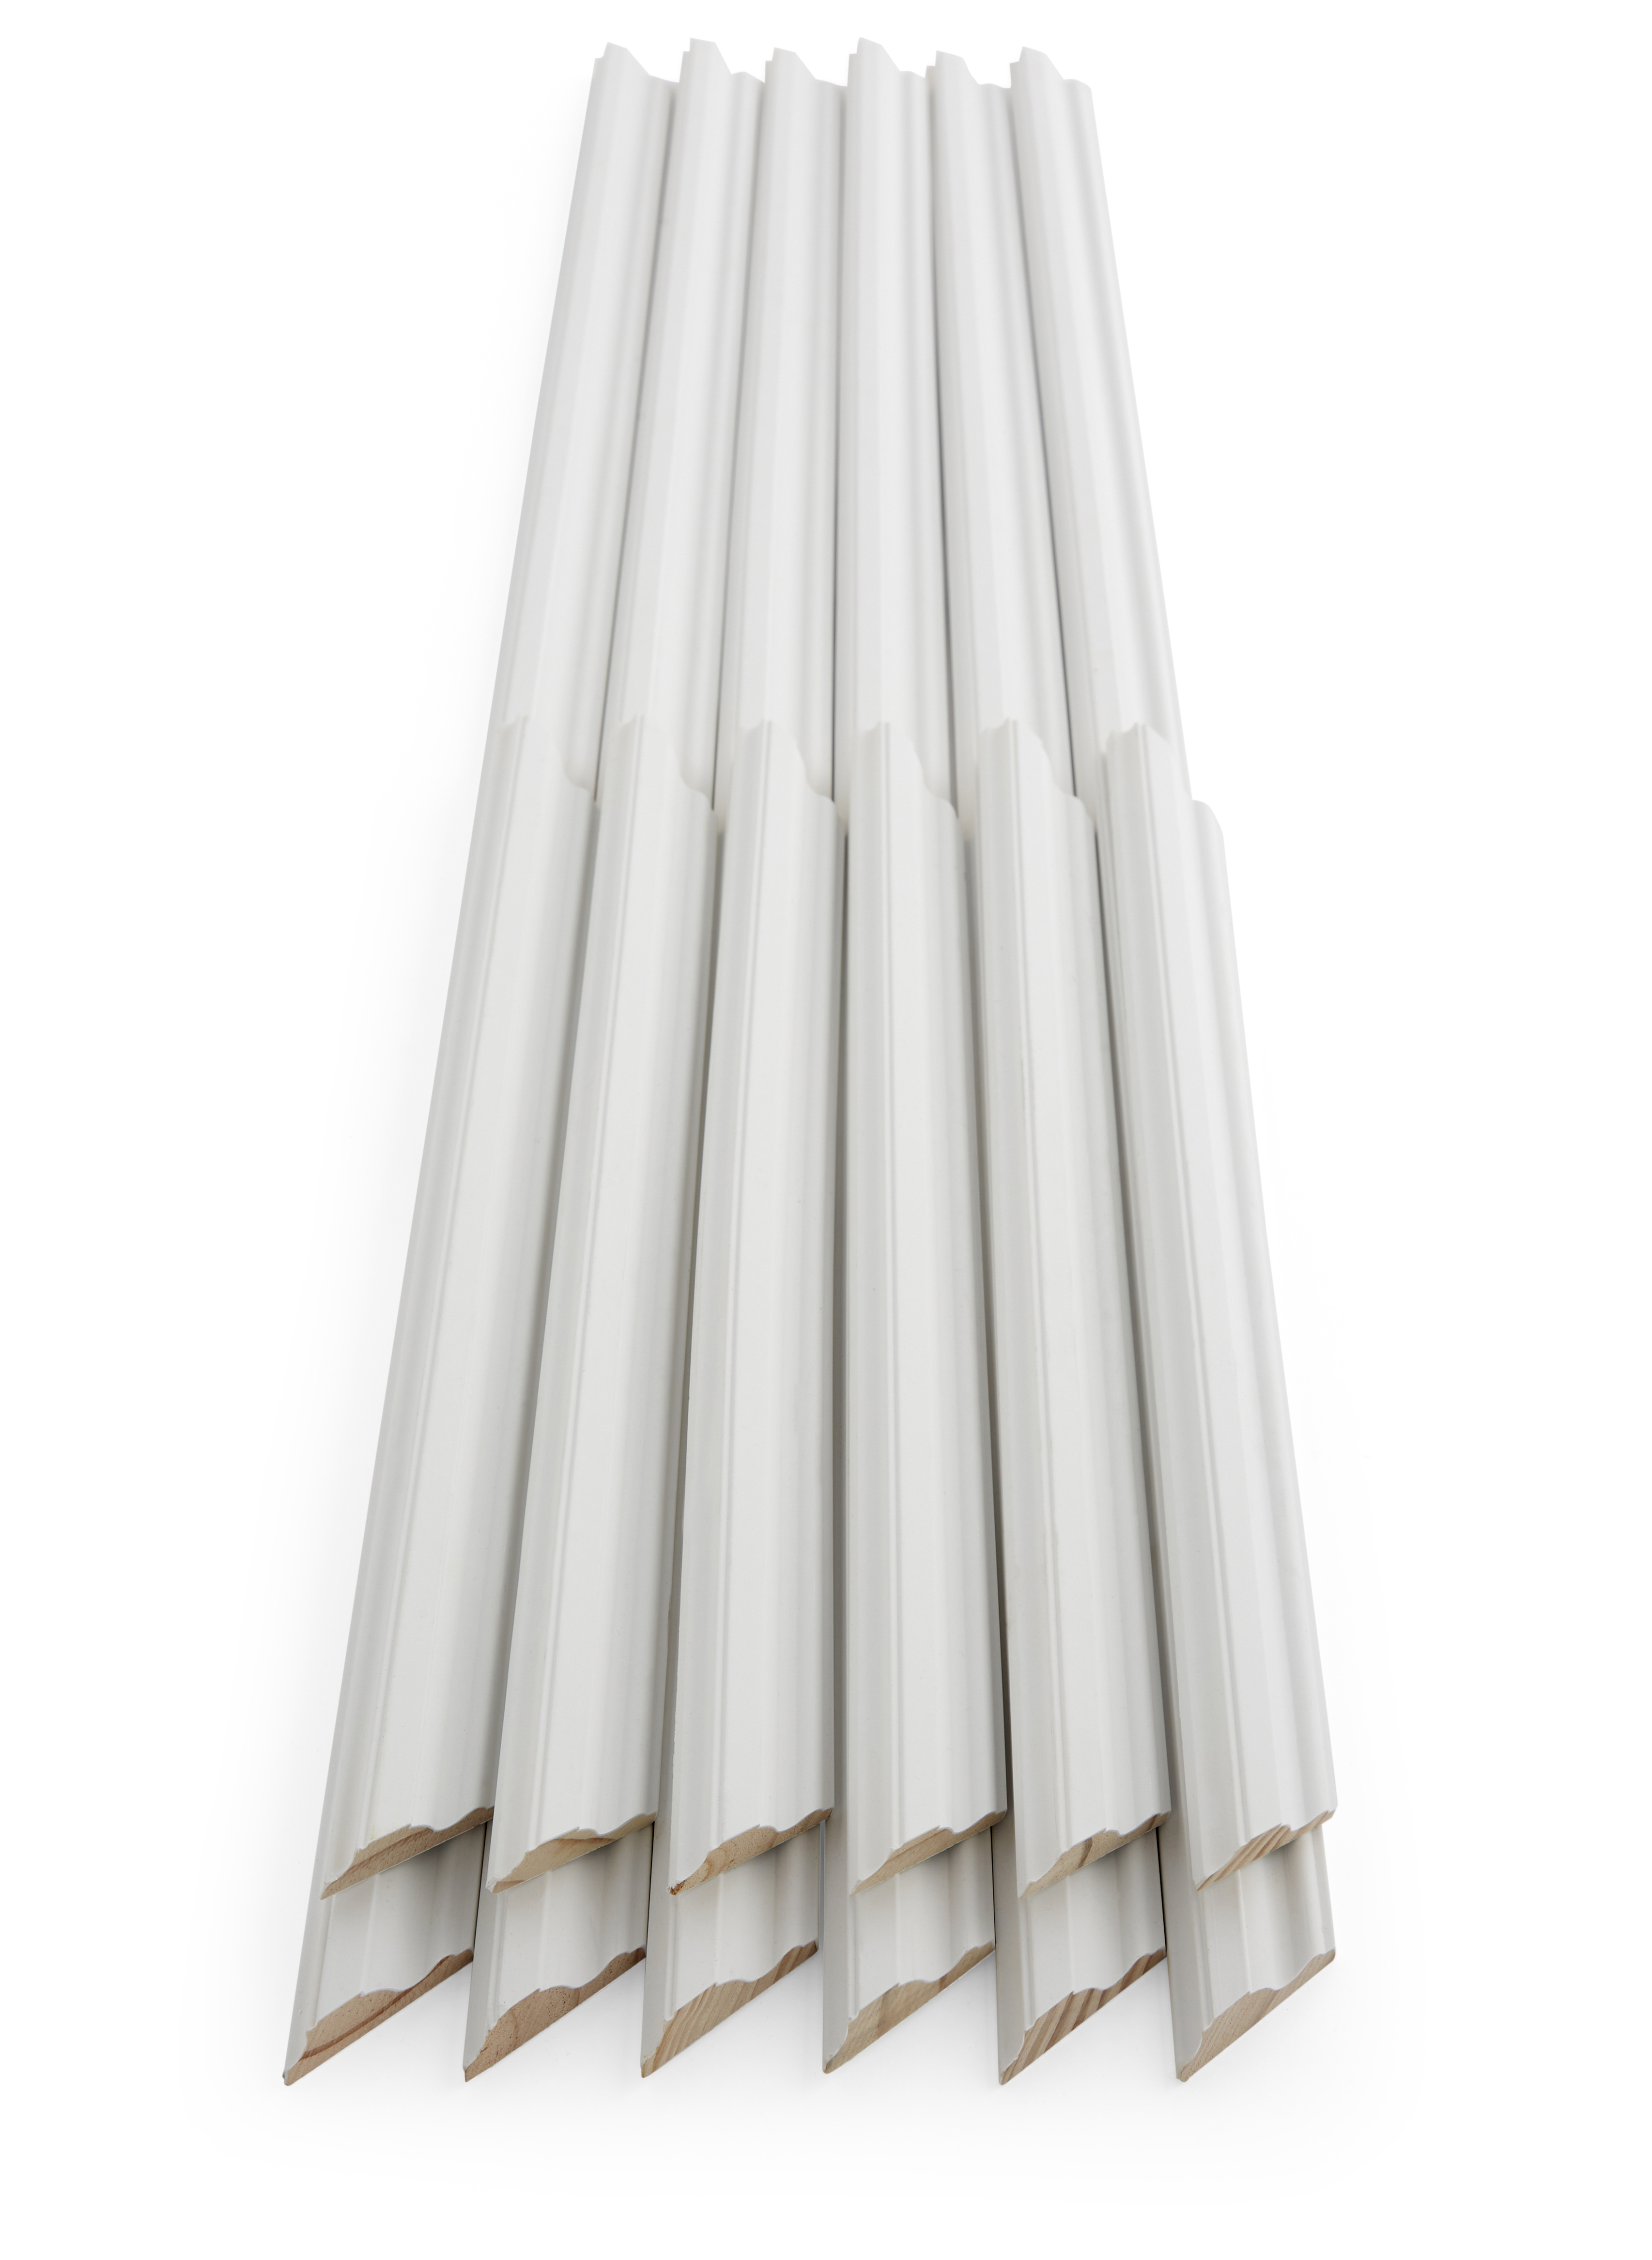
Components in this kit.
6 Decorative Mouldings (Profile as DEC6020)
12 x 32 x 1000mm
6 Decorative Mouldings(Profile as DEC6020)
12 x 32 x 420mm
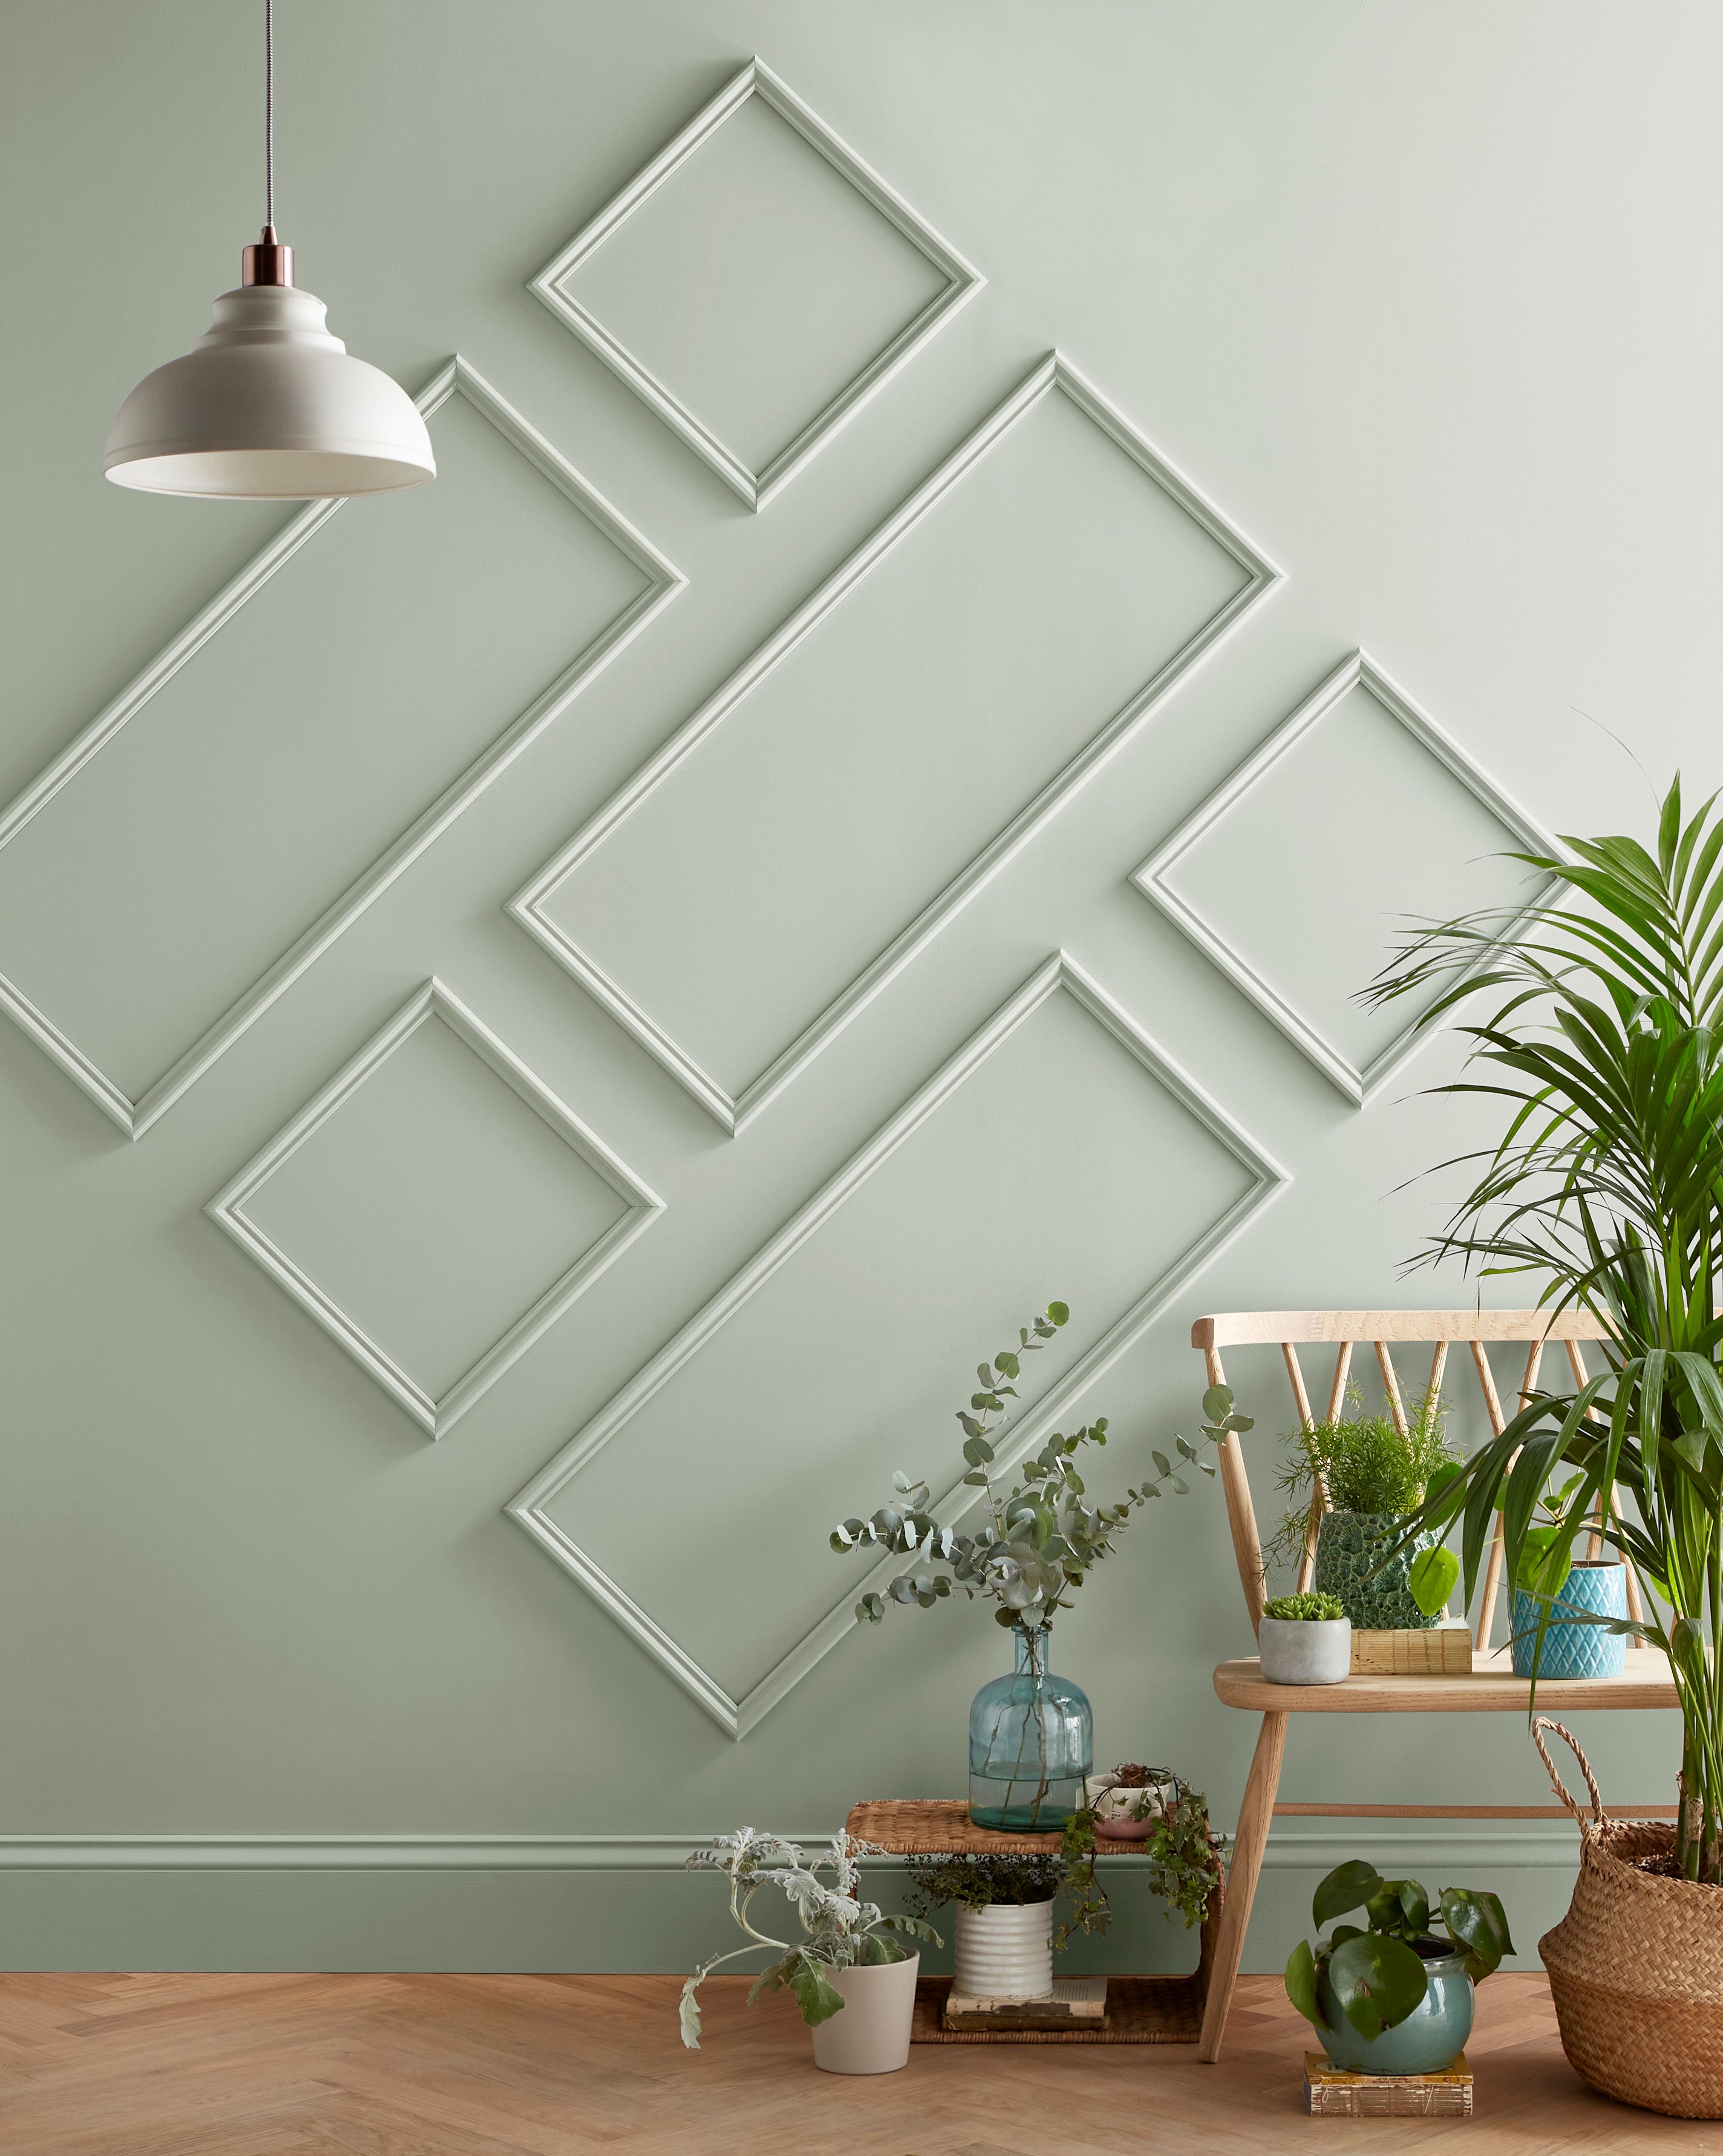
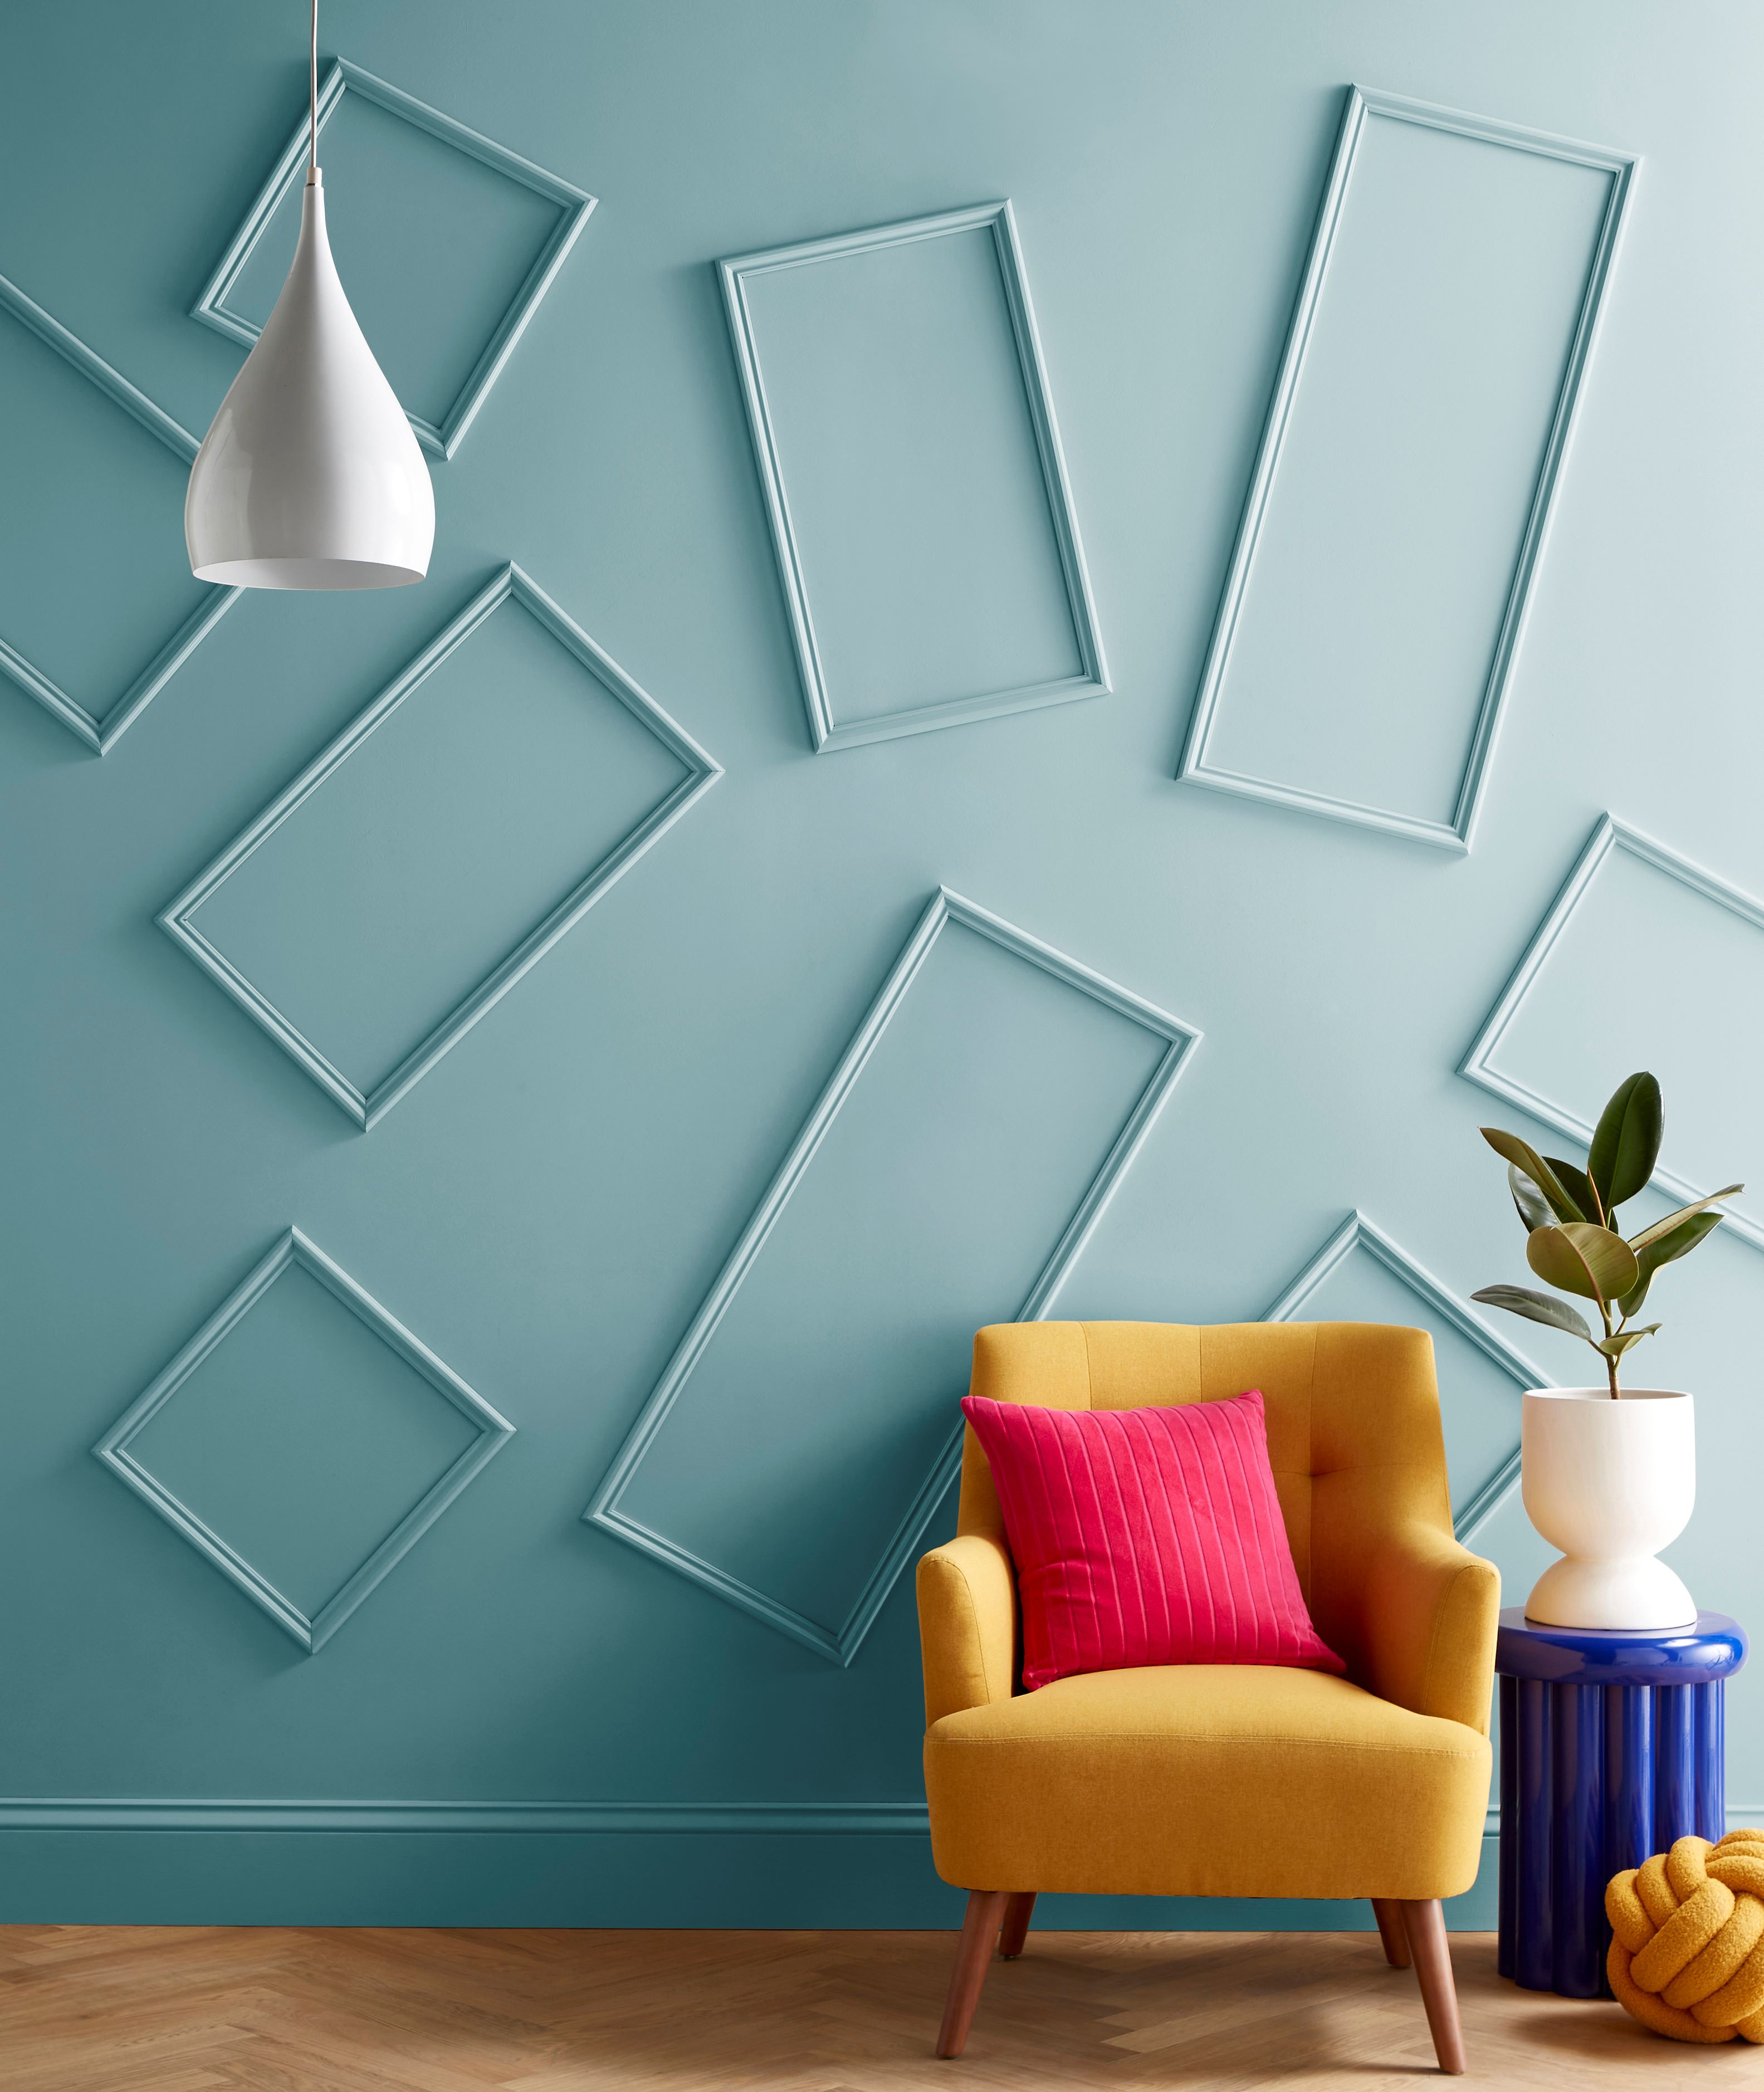
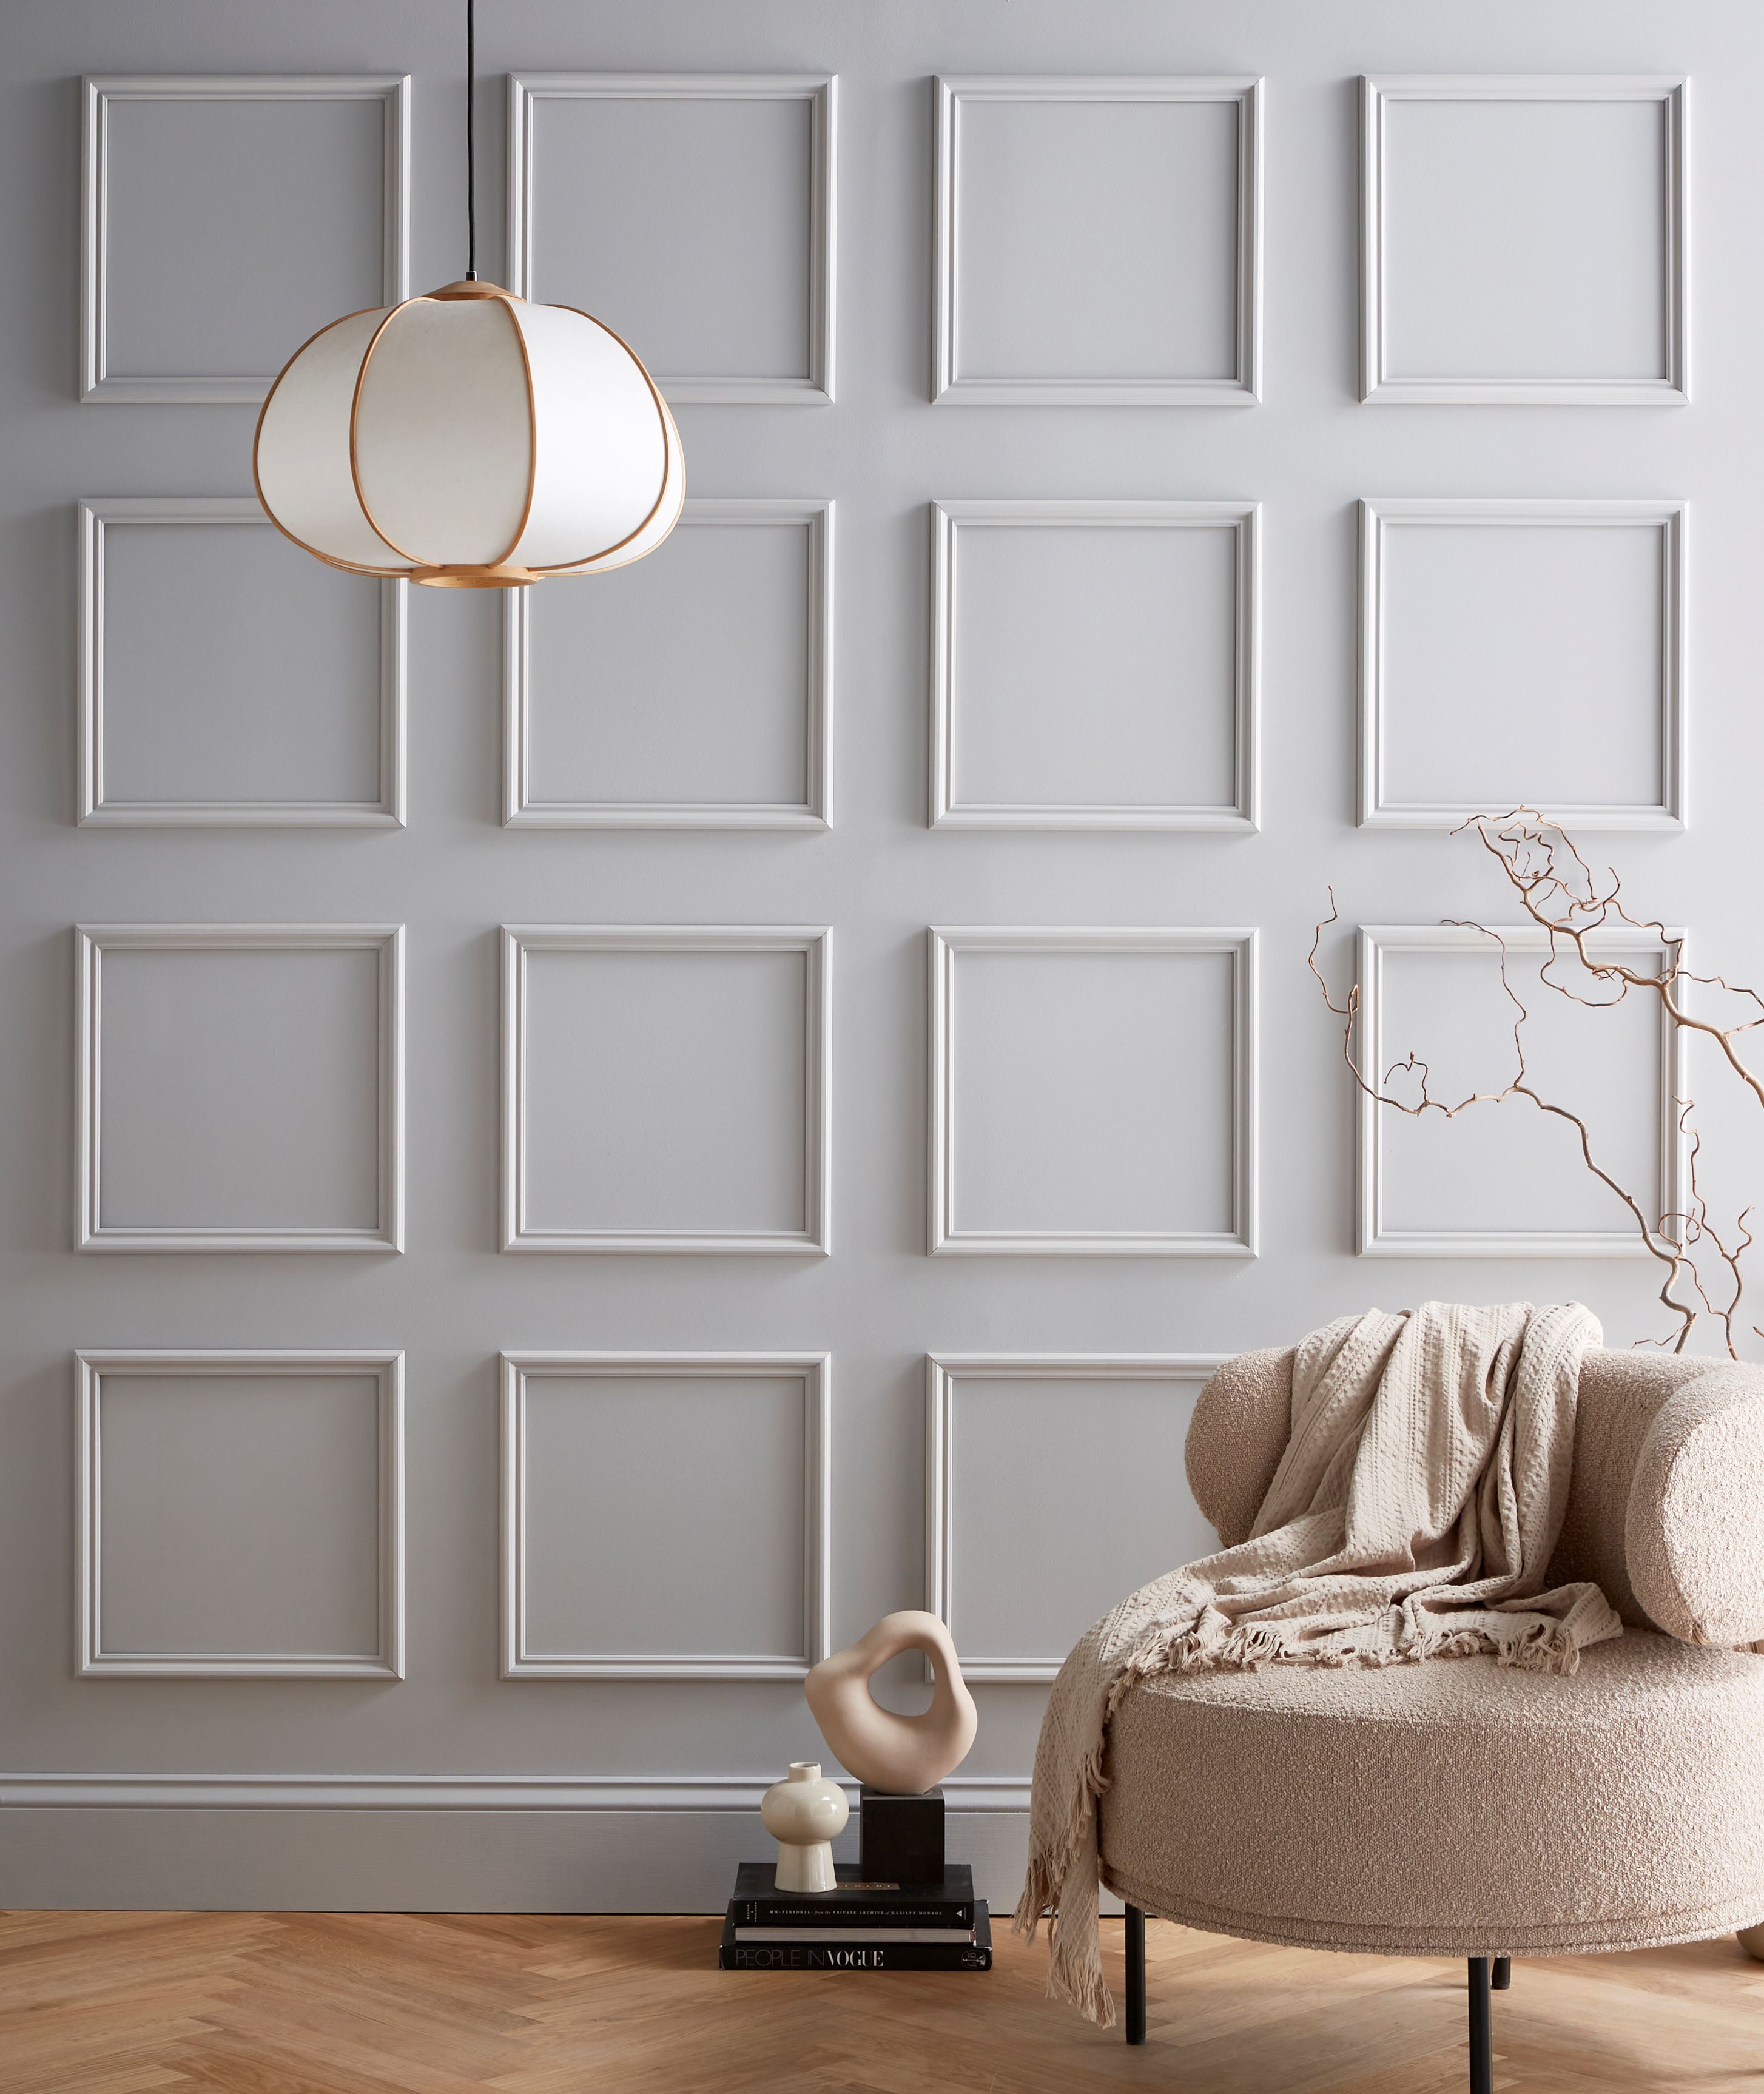
Our wall panel kits have been designed so you can combine different kits to create your own unique look.
From traditional styles to something more contemporary or even eccentric, it's never been easier to get the fashionable panelled room effect.
Installation & Downloads
Be Inspired
Our top tips, advice and testimonials to help you get the best out of Richard Burbidge products. Discover our range and find everything from inspiration and ideas to installation and maintenance advice.


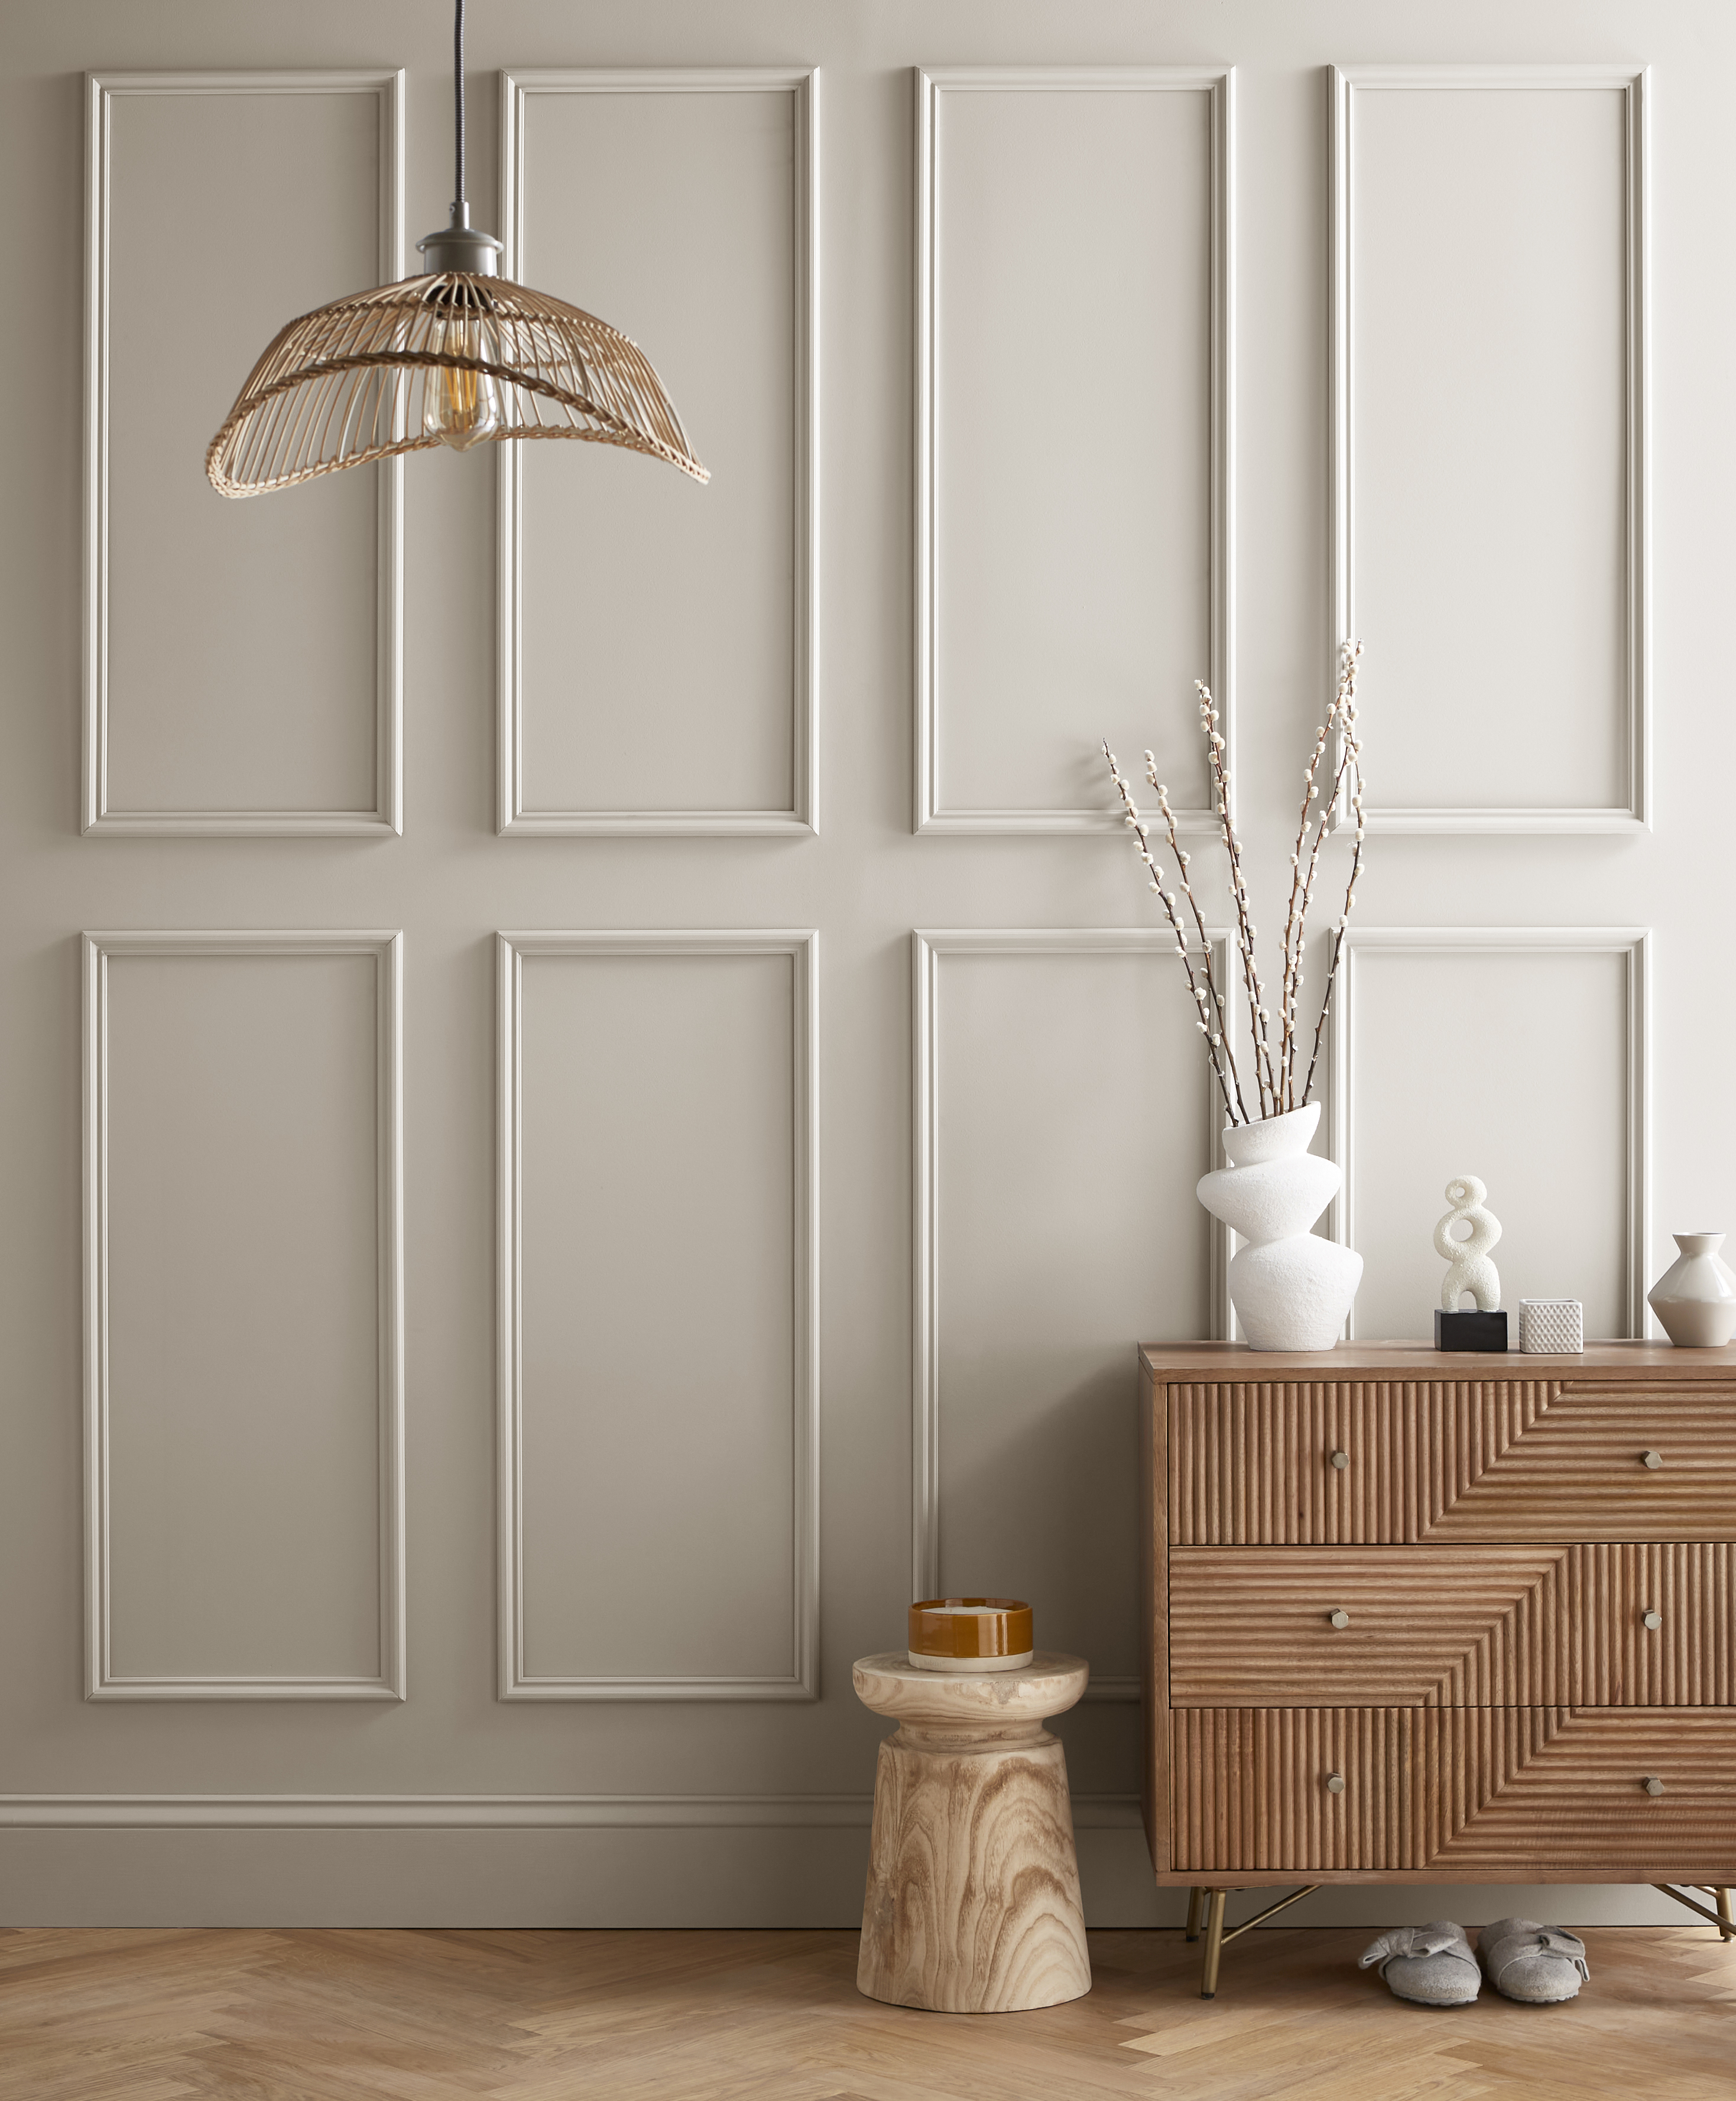
PaintReady® Classic Wall Panel Kits
![]()
The PaintReady Classic Wall Panel Kit is the perfect choice for effortless interior wall panelling. Pre-primed and ready to paint, these decorative wall panelling panels are designed for quick and easy installation with a smooth, flawless finish. [read_more]
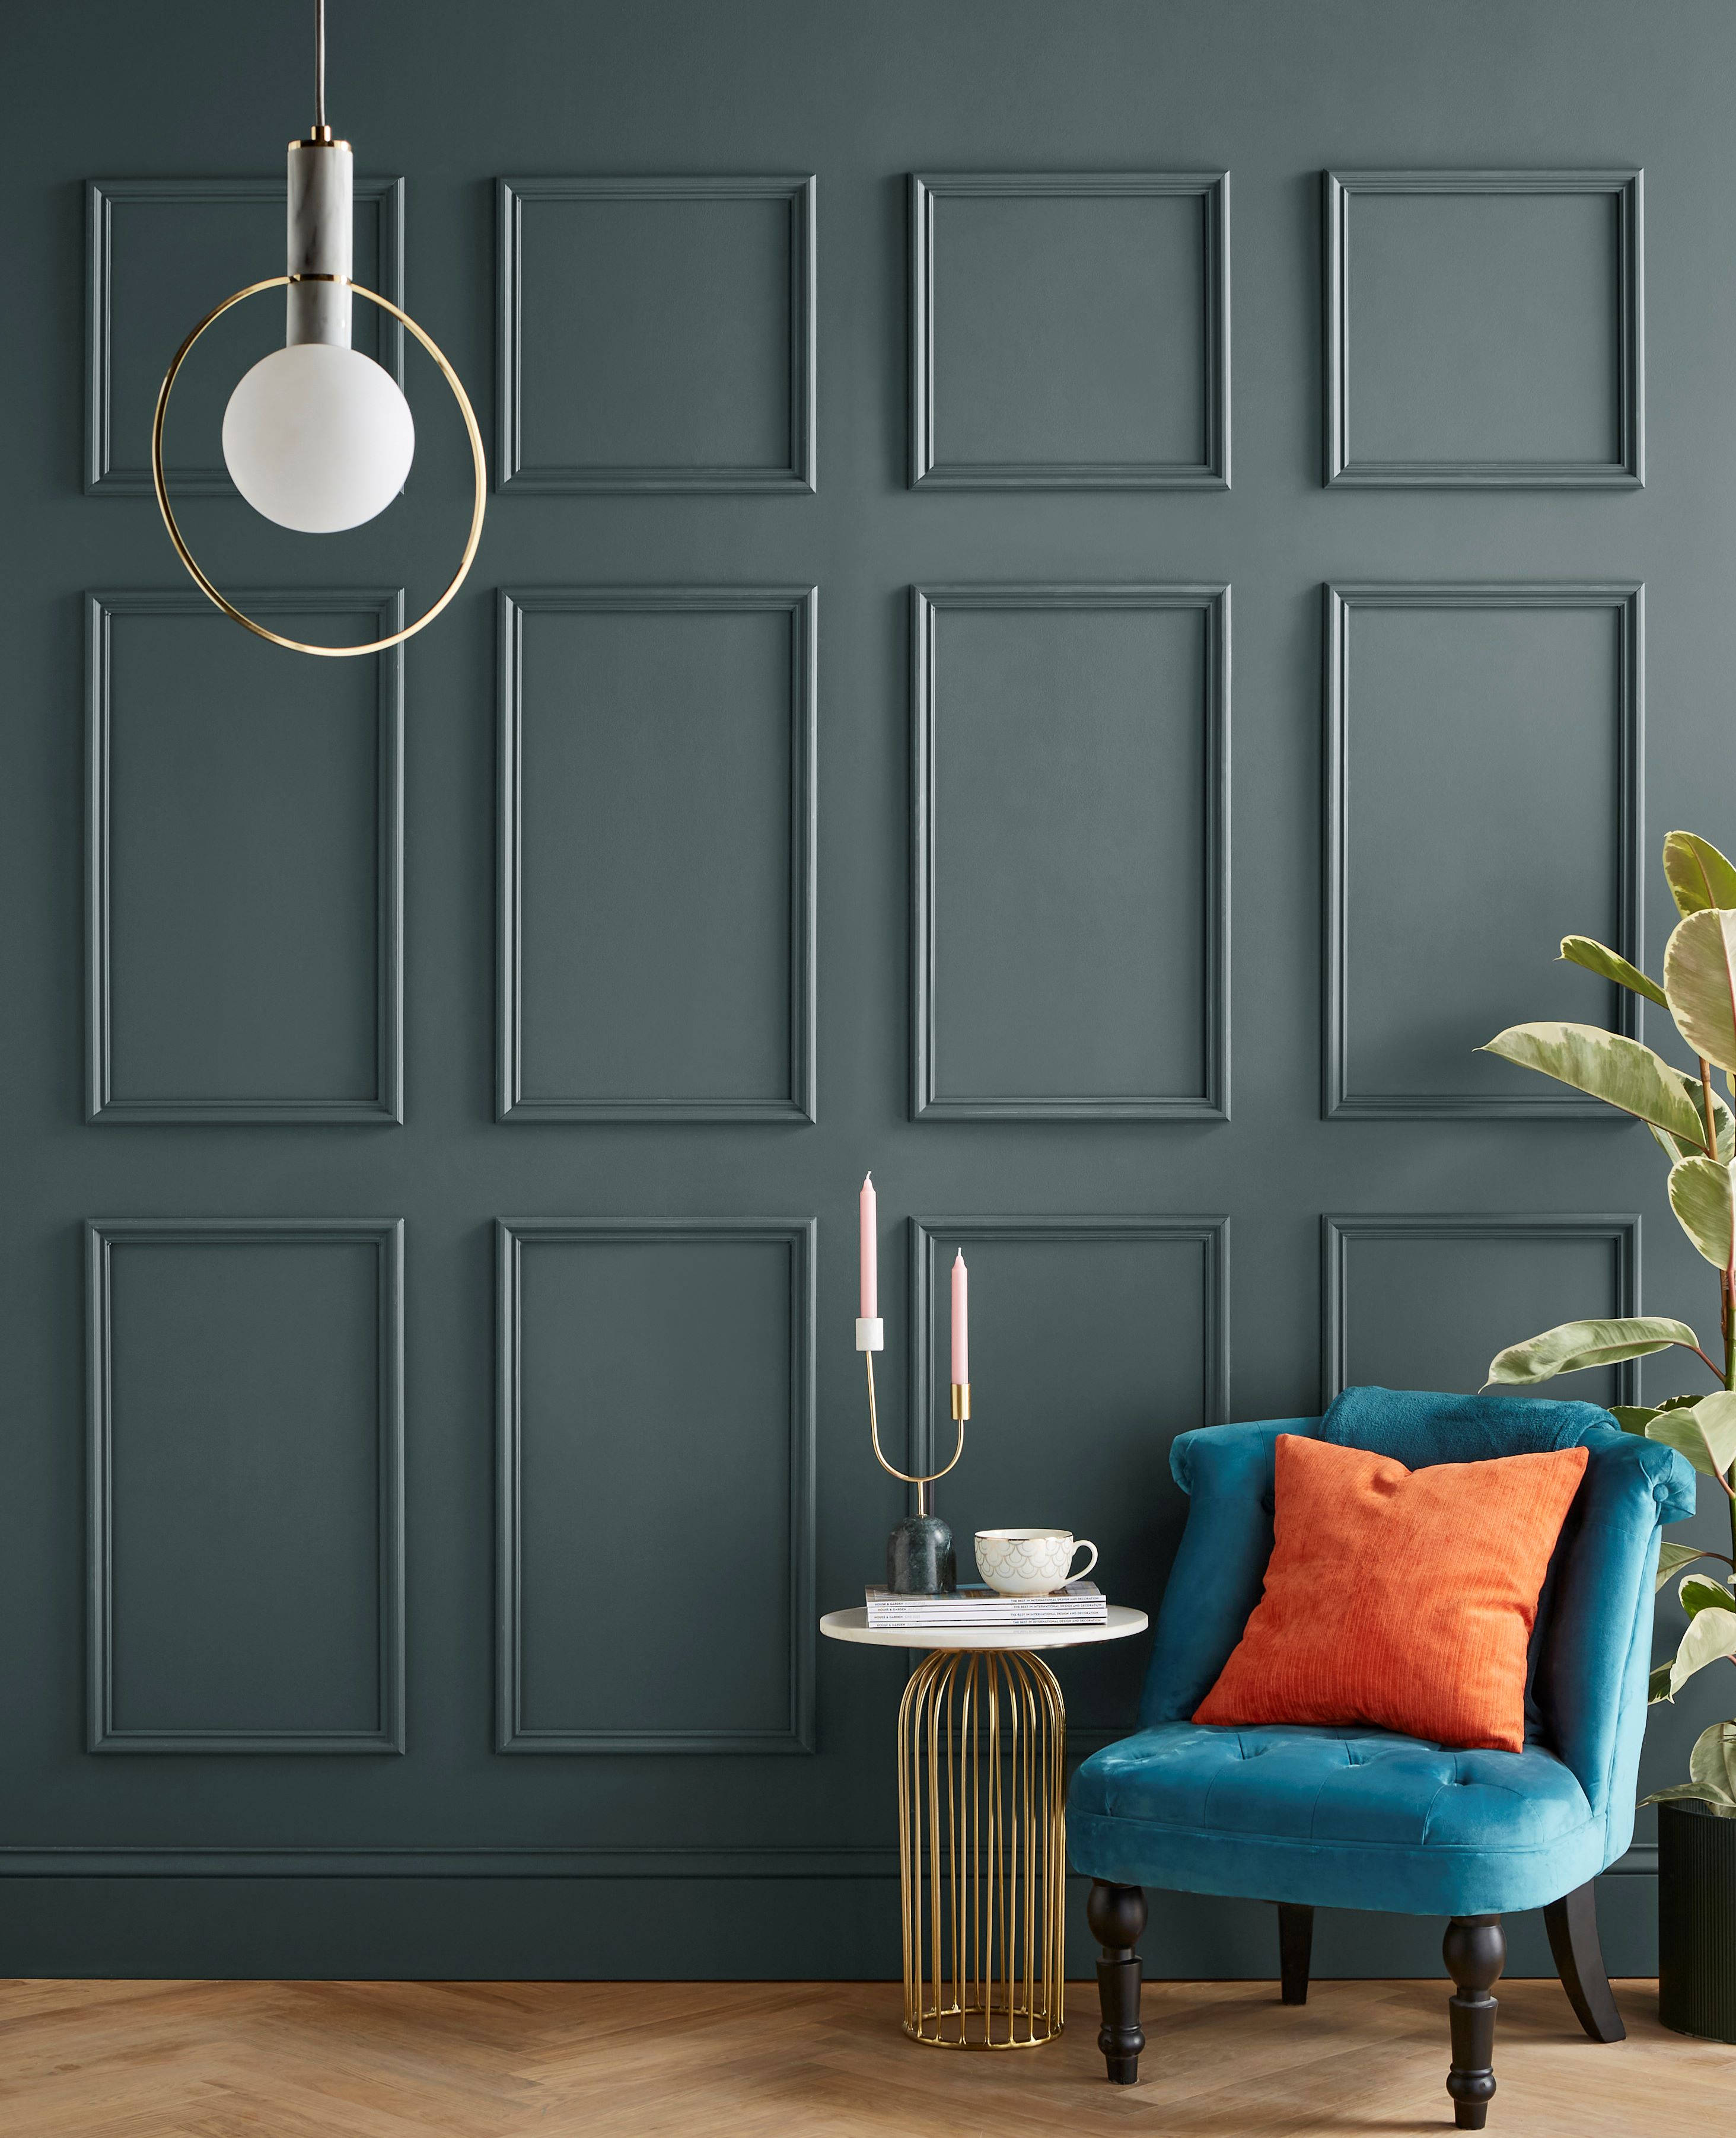
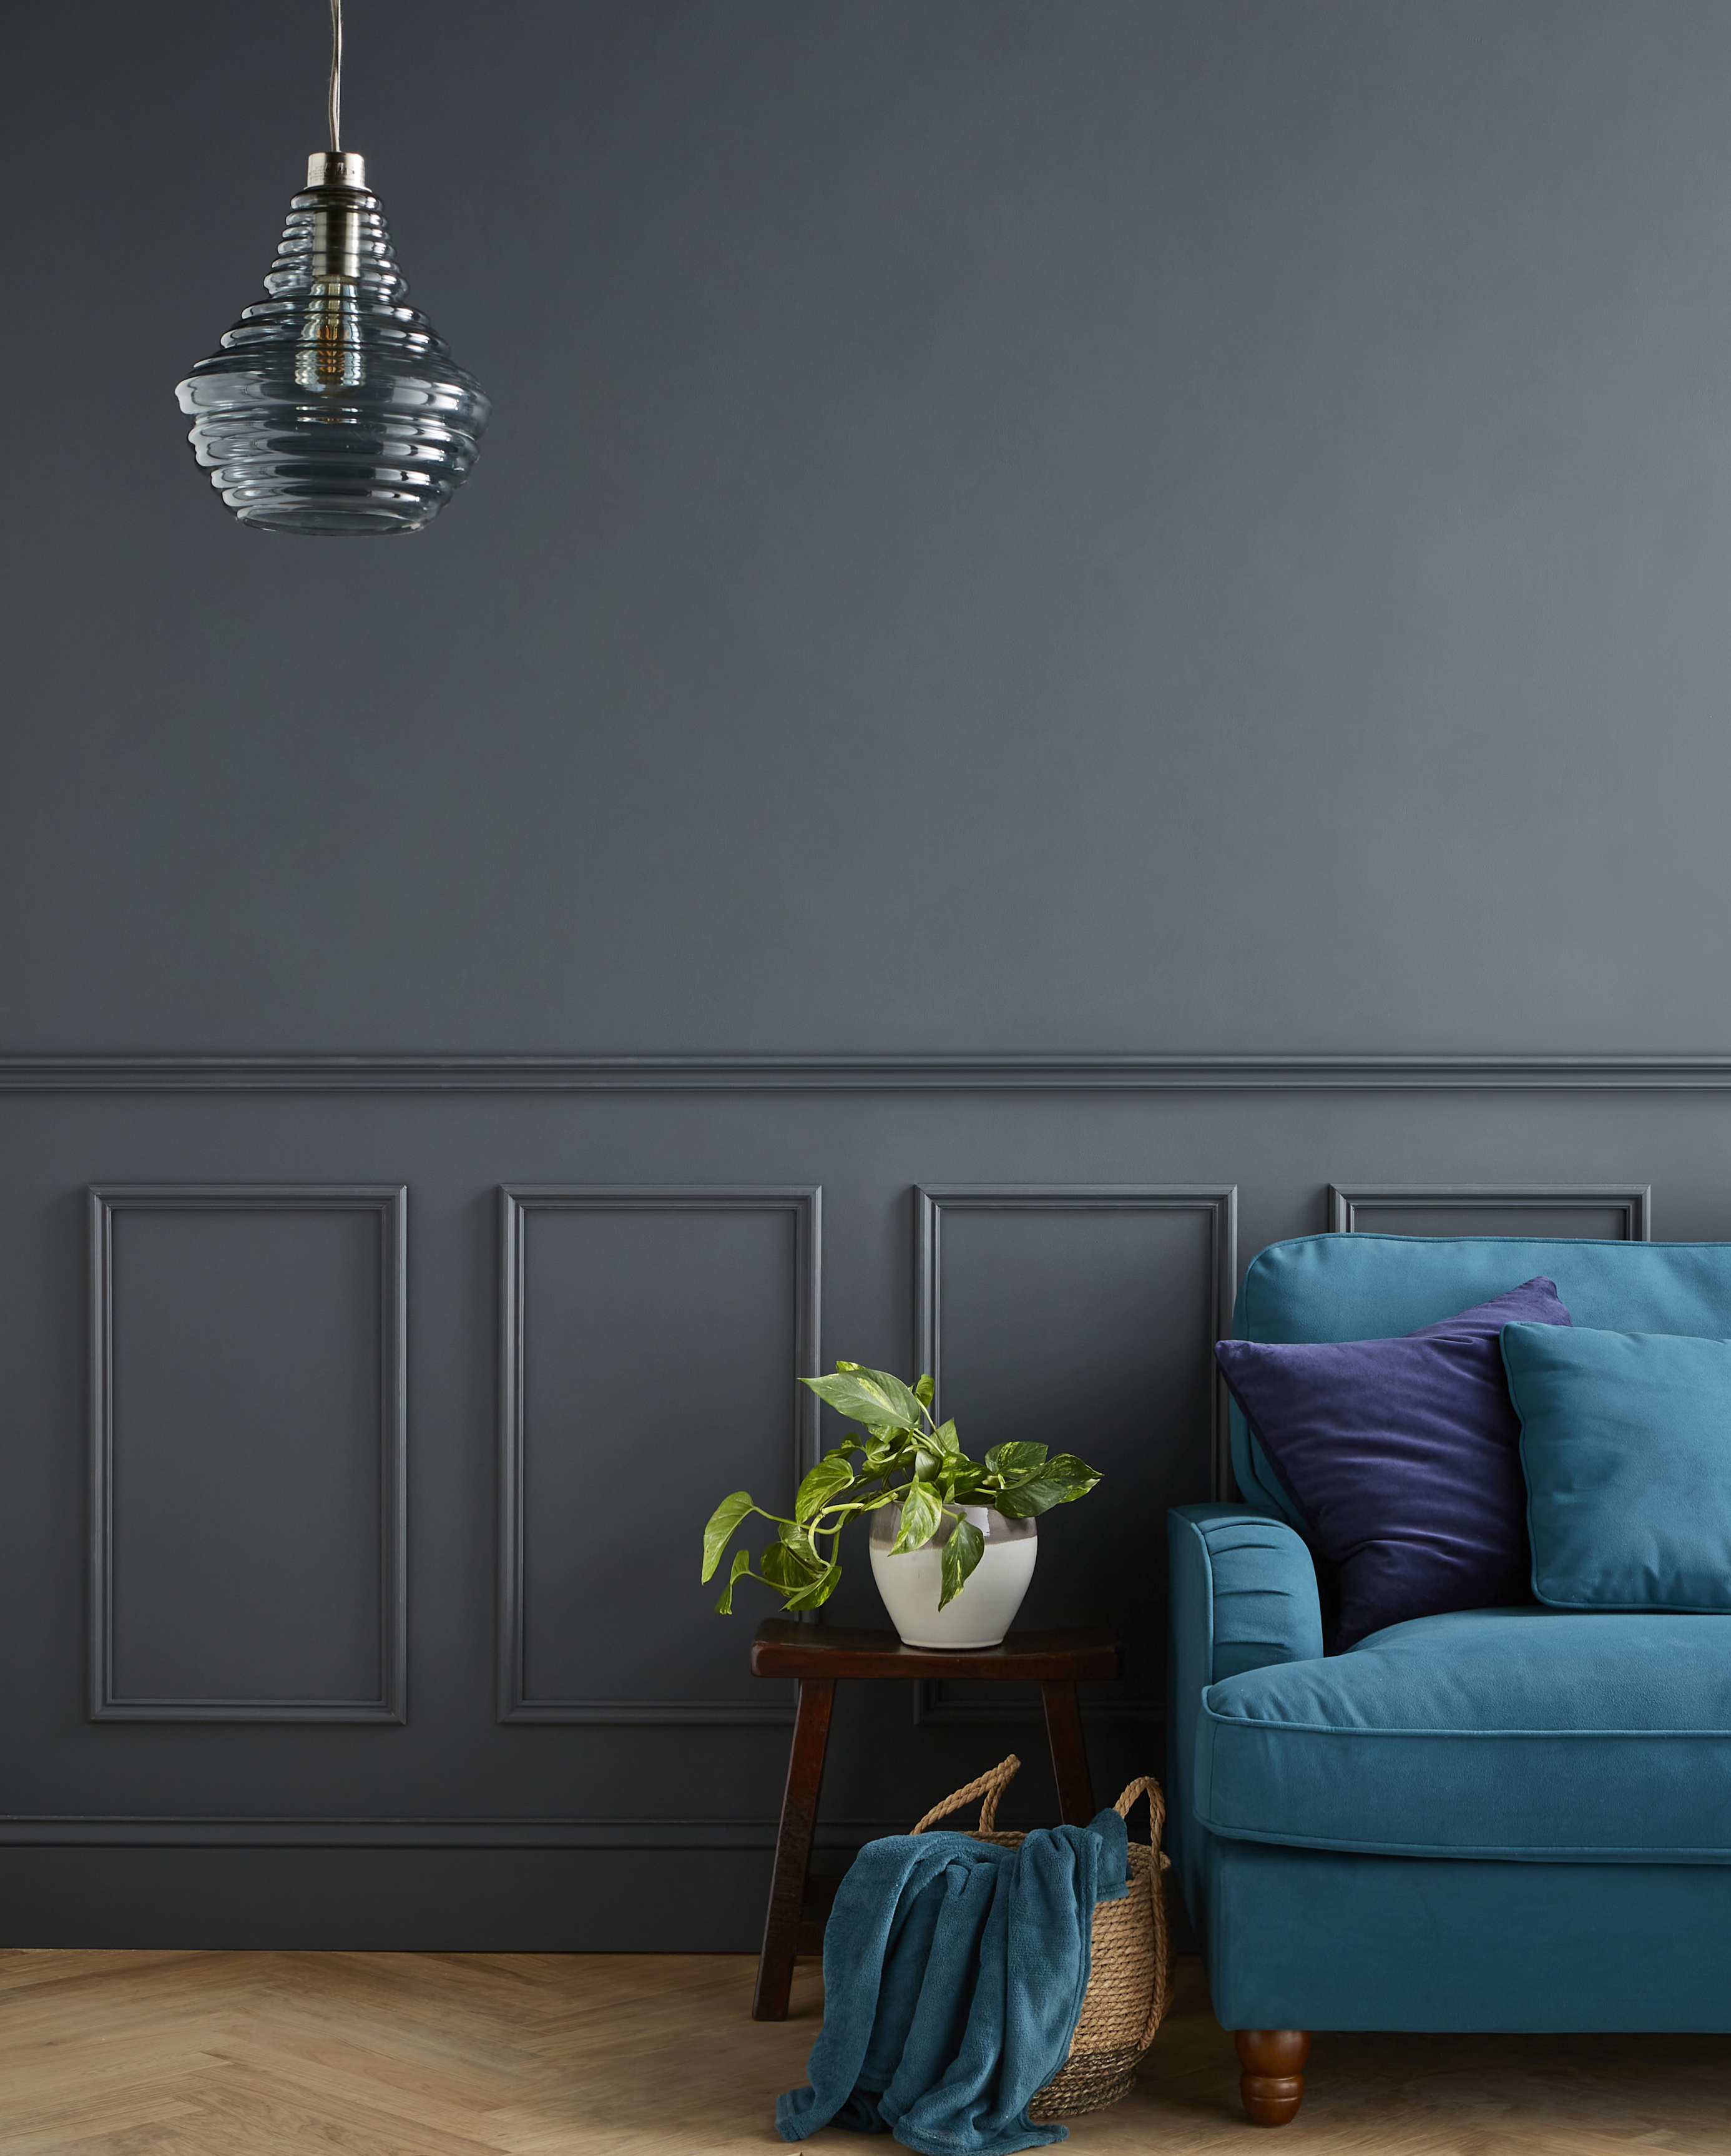
Kits are available in squares, longer rectangles and a half wall solution with Dado rail. These classic kits are ideal for adding depth and elegance to hallways, dining rooms, and living spaces, they offer a simple way to achieve a high-end look with minimal fuss.
View All ProductsPaintReady® Classic Wall Panel Kits FAQs
Can I do wall panelling myself?
Yes, wall panelling is a fantastic DIY project! With the right tools and materials, you can install wall panels yourself. Our Paint Ready Wall Panel Kits are designed to be user-friendly, with clear instructions that make the process simple for beginners and experienced DIYers alike. You’ll need basic tools like a saw, measuring tape, and adhesive or nails.
Can wall panels go over tiles?
Yes, wall panels can be installed over tiles, as long as the surface is smooth and secure. Here’s how to do it:
- Clean the Tiles: Make sure the tiles are clean and free of grease or dust.
- Smooth the Surface: If the tiles have grout lines or rough textures, consider sanding them down or applying a primer to help the panels adhere better.
- Apply Panels: Use a strong adhesive to attach the panels directly over the tiles. For added stability, you can also use nails or screws in places where possible.
Does wall panelling add value to your home?
Yes, wall panelling can add value to your home, it is a cost-effective way to enhance your home’s aesthetics and market appeal. When wall panelling is properly installed, it’s an investment that can pay off when it’s time to sell or if you just want to enjoy the space.
How high should wall panelling be?
The height of your wall panelling depends on the look you’re going for. Typically, wall panelling is installed between one-third and two-thirds of the wall’s height. To achieve a classic look, panelling is often placed around 1 meter (39 inches) high, but you can go higher for a more dramatic effect. Consider panelling the entire wall or adding a feature panel around the middle to achieve a more modern look.
How to do wall panelling on stairs?
Wall panelling on stairs adds elegance and can make your staircase a feature of the room. To panel on stairs:
- Measure the Wall: Start by measuring the height and width of the wall on each side of the stairs.
- Cut Panels to Fit: You may need to cut the panels to fit the angled surfaces of the stairwell. A mitre saw can help with angled cuts.
- Install Panels Carefully: For safety and precision, install the panels from bottom to top, ensuring they align properly with the angles of the stairs.
- Finishing Touches: Use trim or moulding around the edges to give a clean, finished look.
How to wooden panel a wall?
Wooden wall panelling is a great way to add warmth and character to any room. To panel a wall:
- Prepare the Wall: Start by cleaning the wall and ensuring it's smooth and dry. If necessary, fill in any holes or imperfections.
- Measure and Mark: Measure the wall and mark where the panels will go. You can use a spirit level to ensure straight lines.
- Cut the Panels: Using a saw cut the wooden panels to the desired length. If using a kit, follow the provided instructions for specific sizes.
- Fix the Panels: Apply adhesive to the back of the panels and press them firmly against the wall. You can also use nails or screws to secure them.
- Finish the Edges: Once the panels are in place, finish with trims or mouldings around the edges for a clean, professional look.
